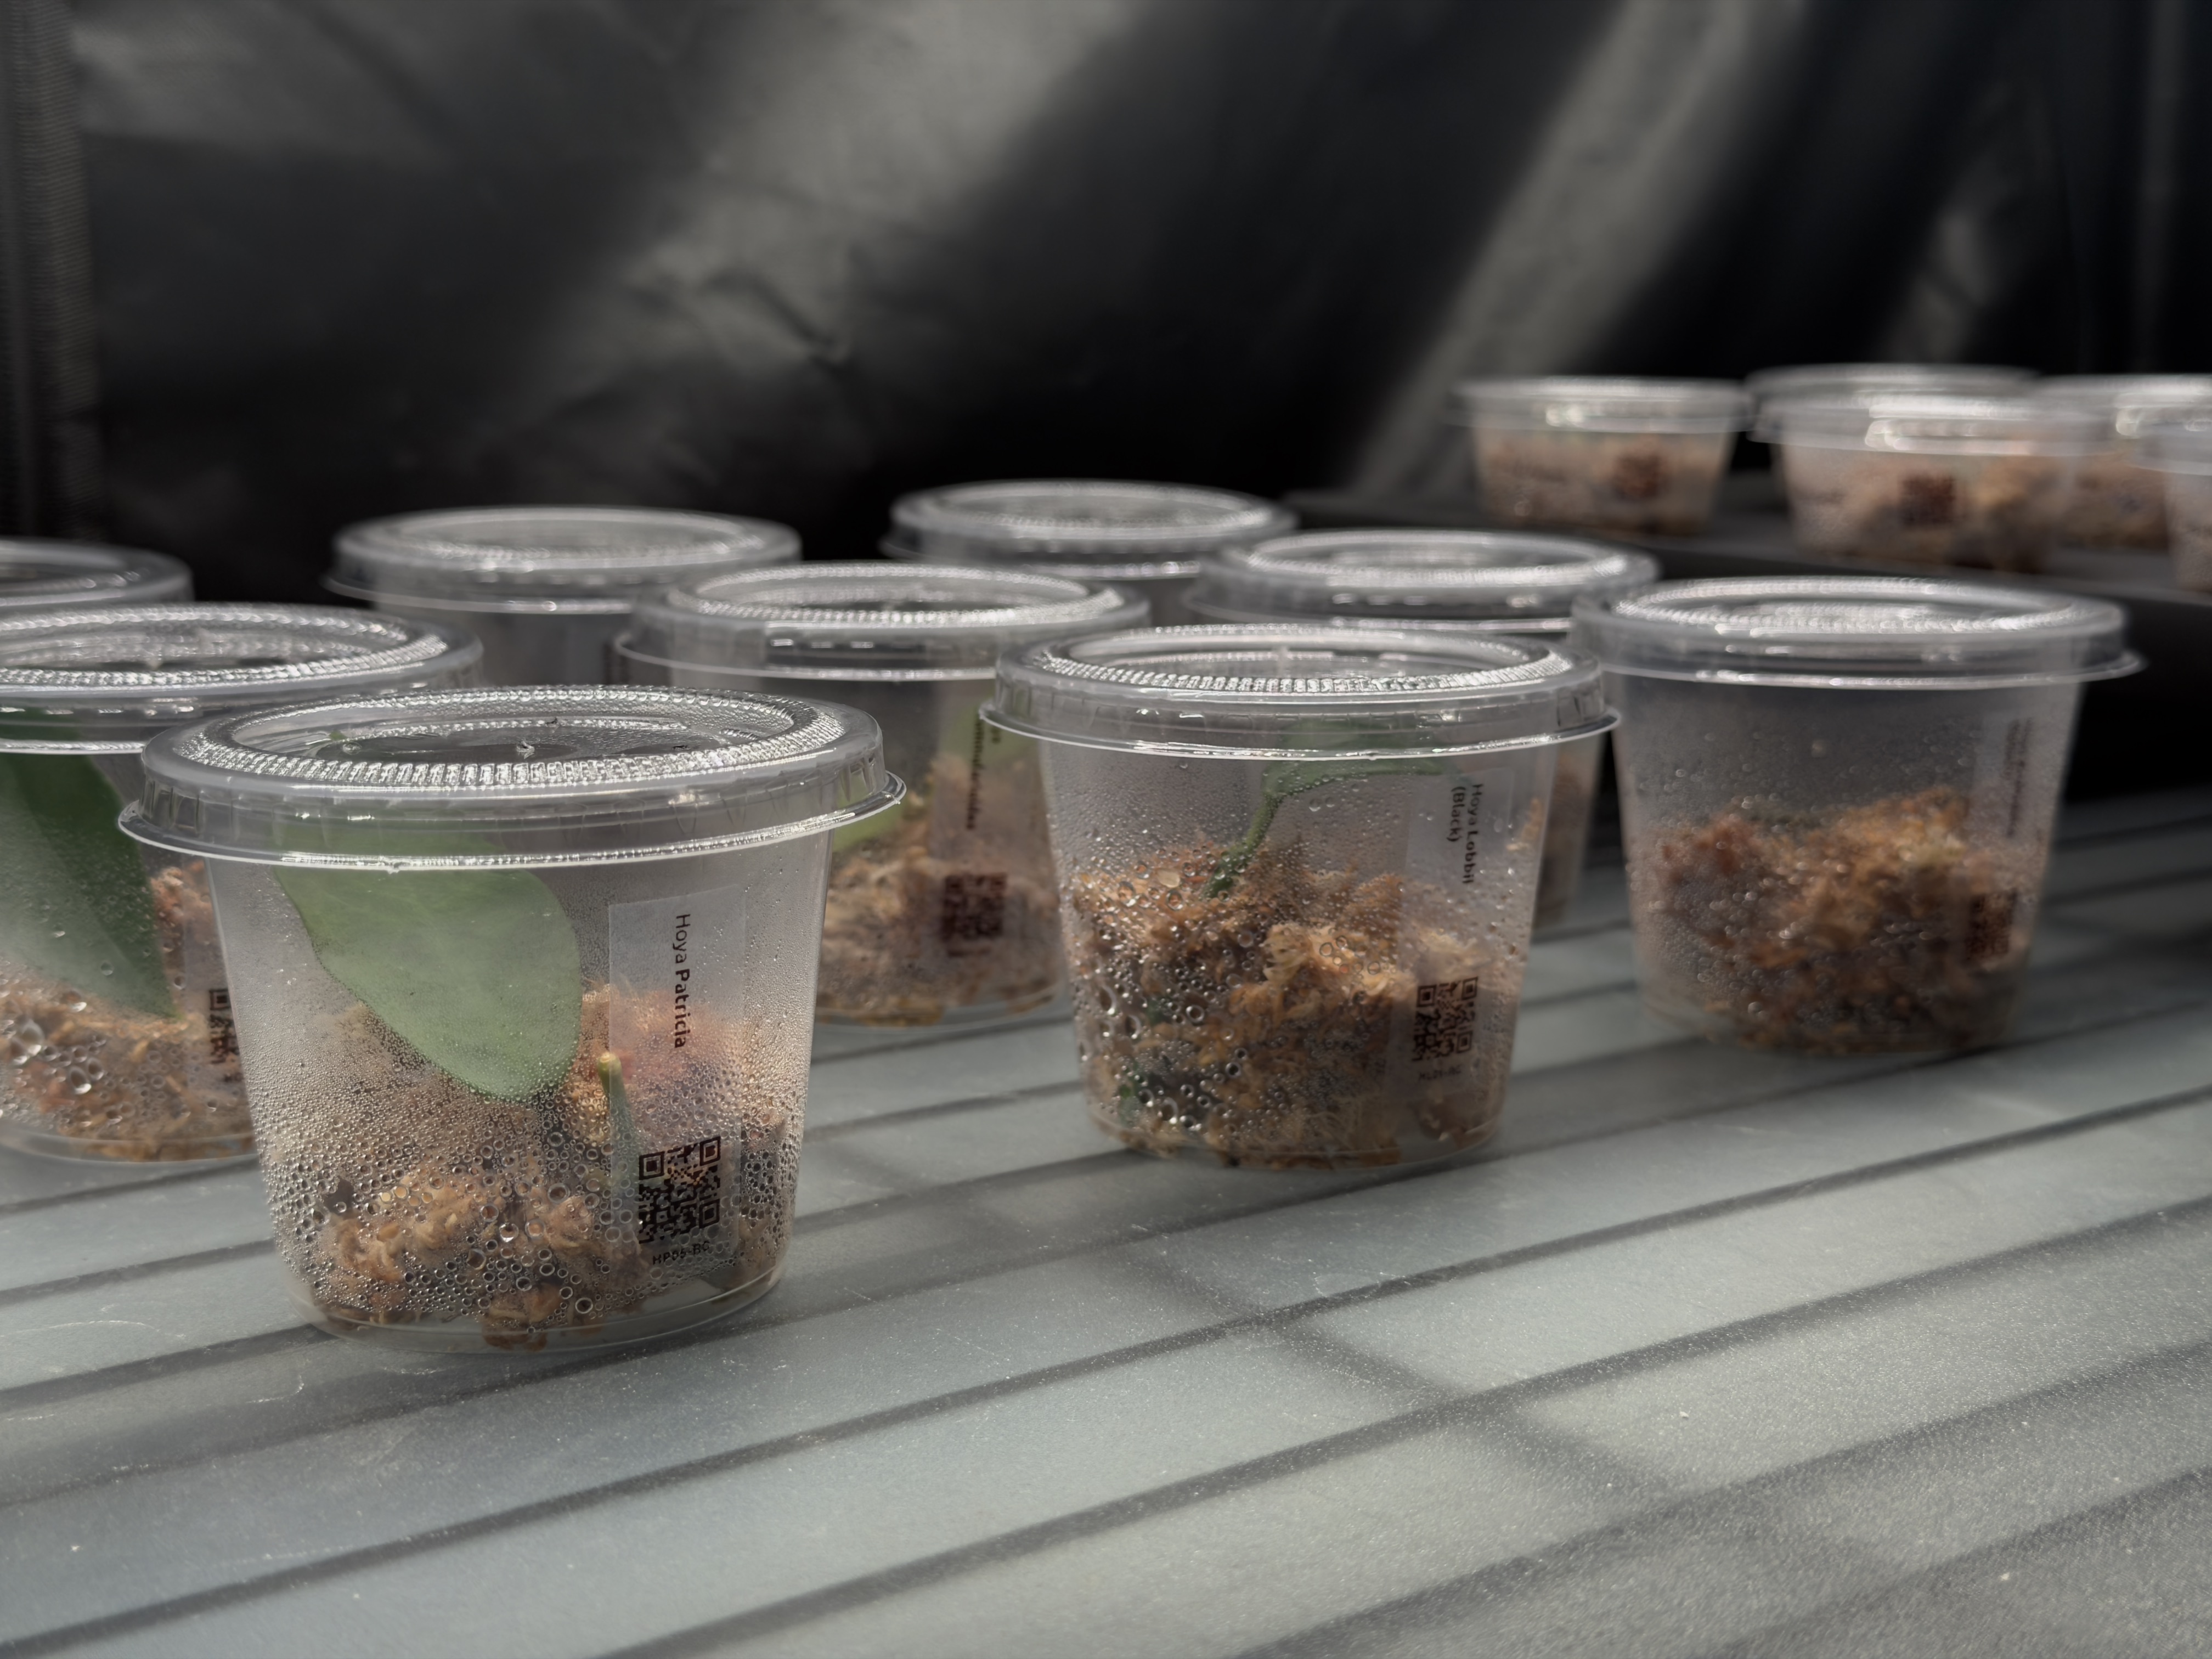
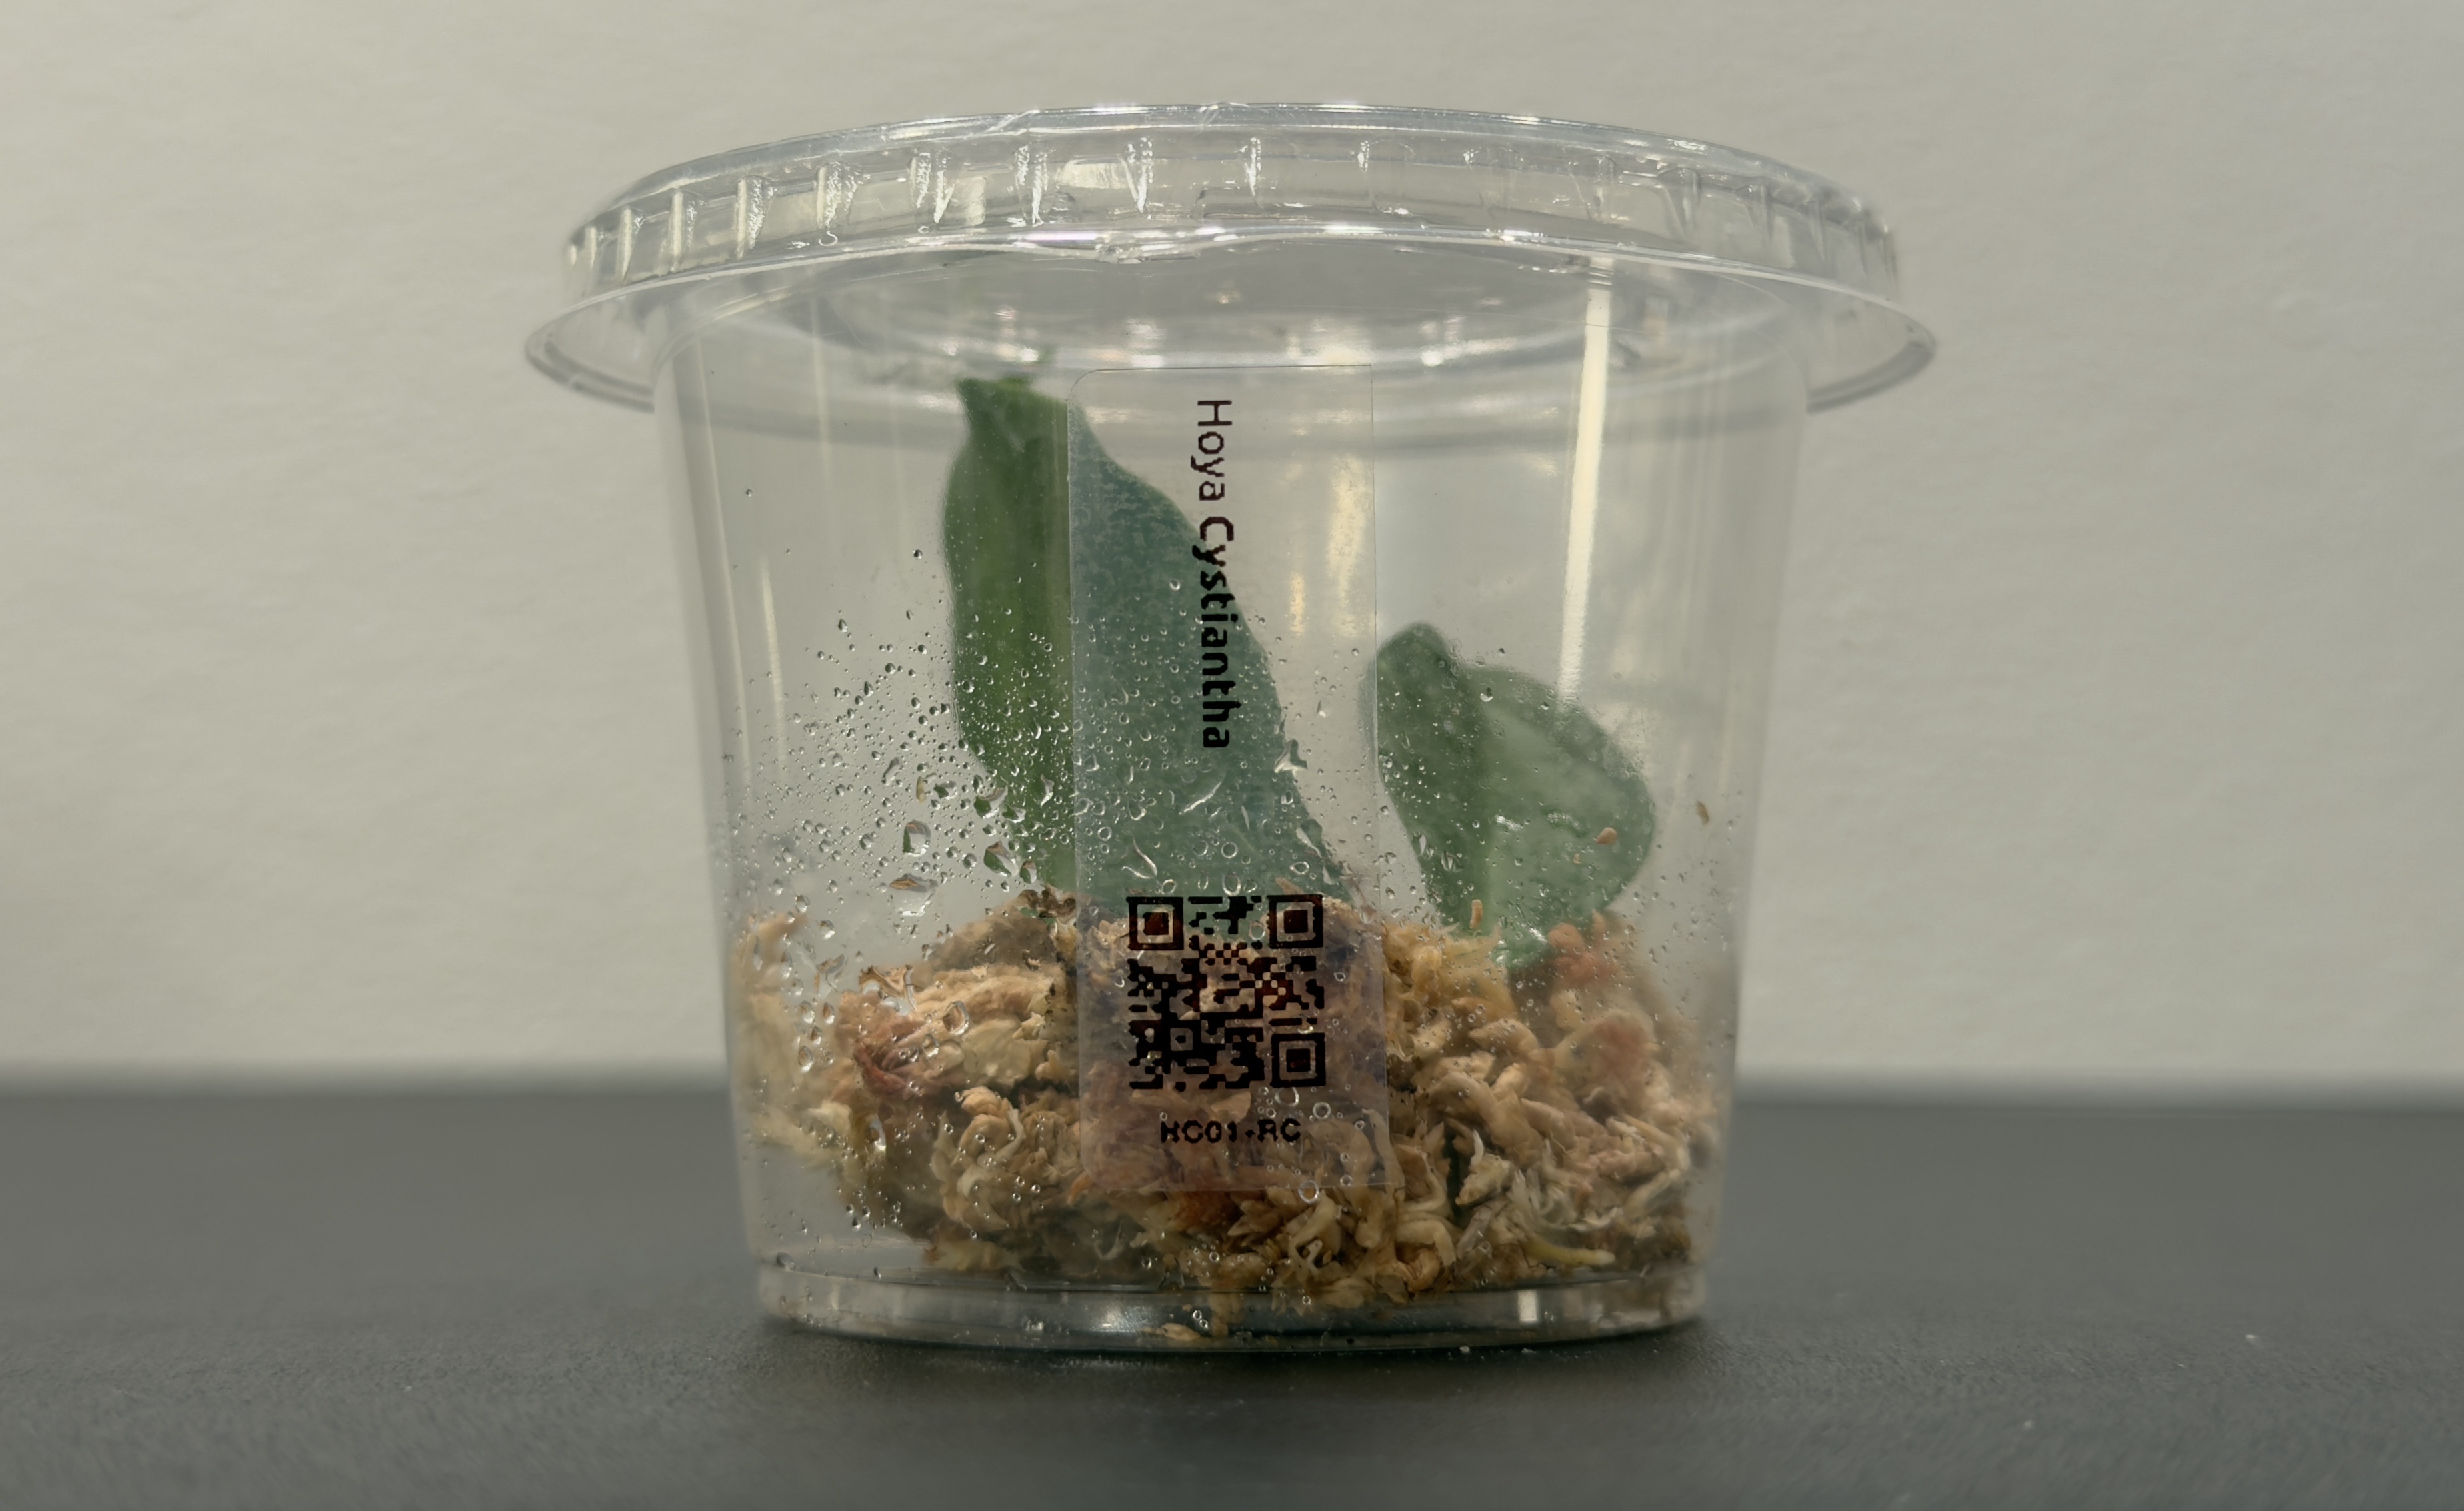
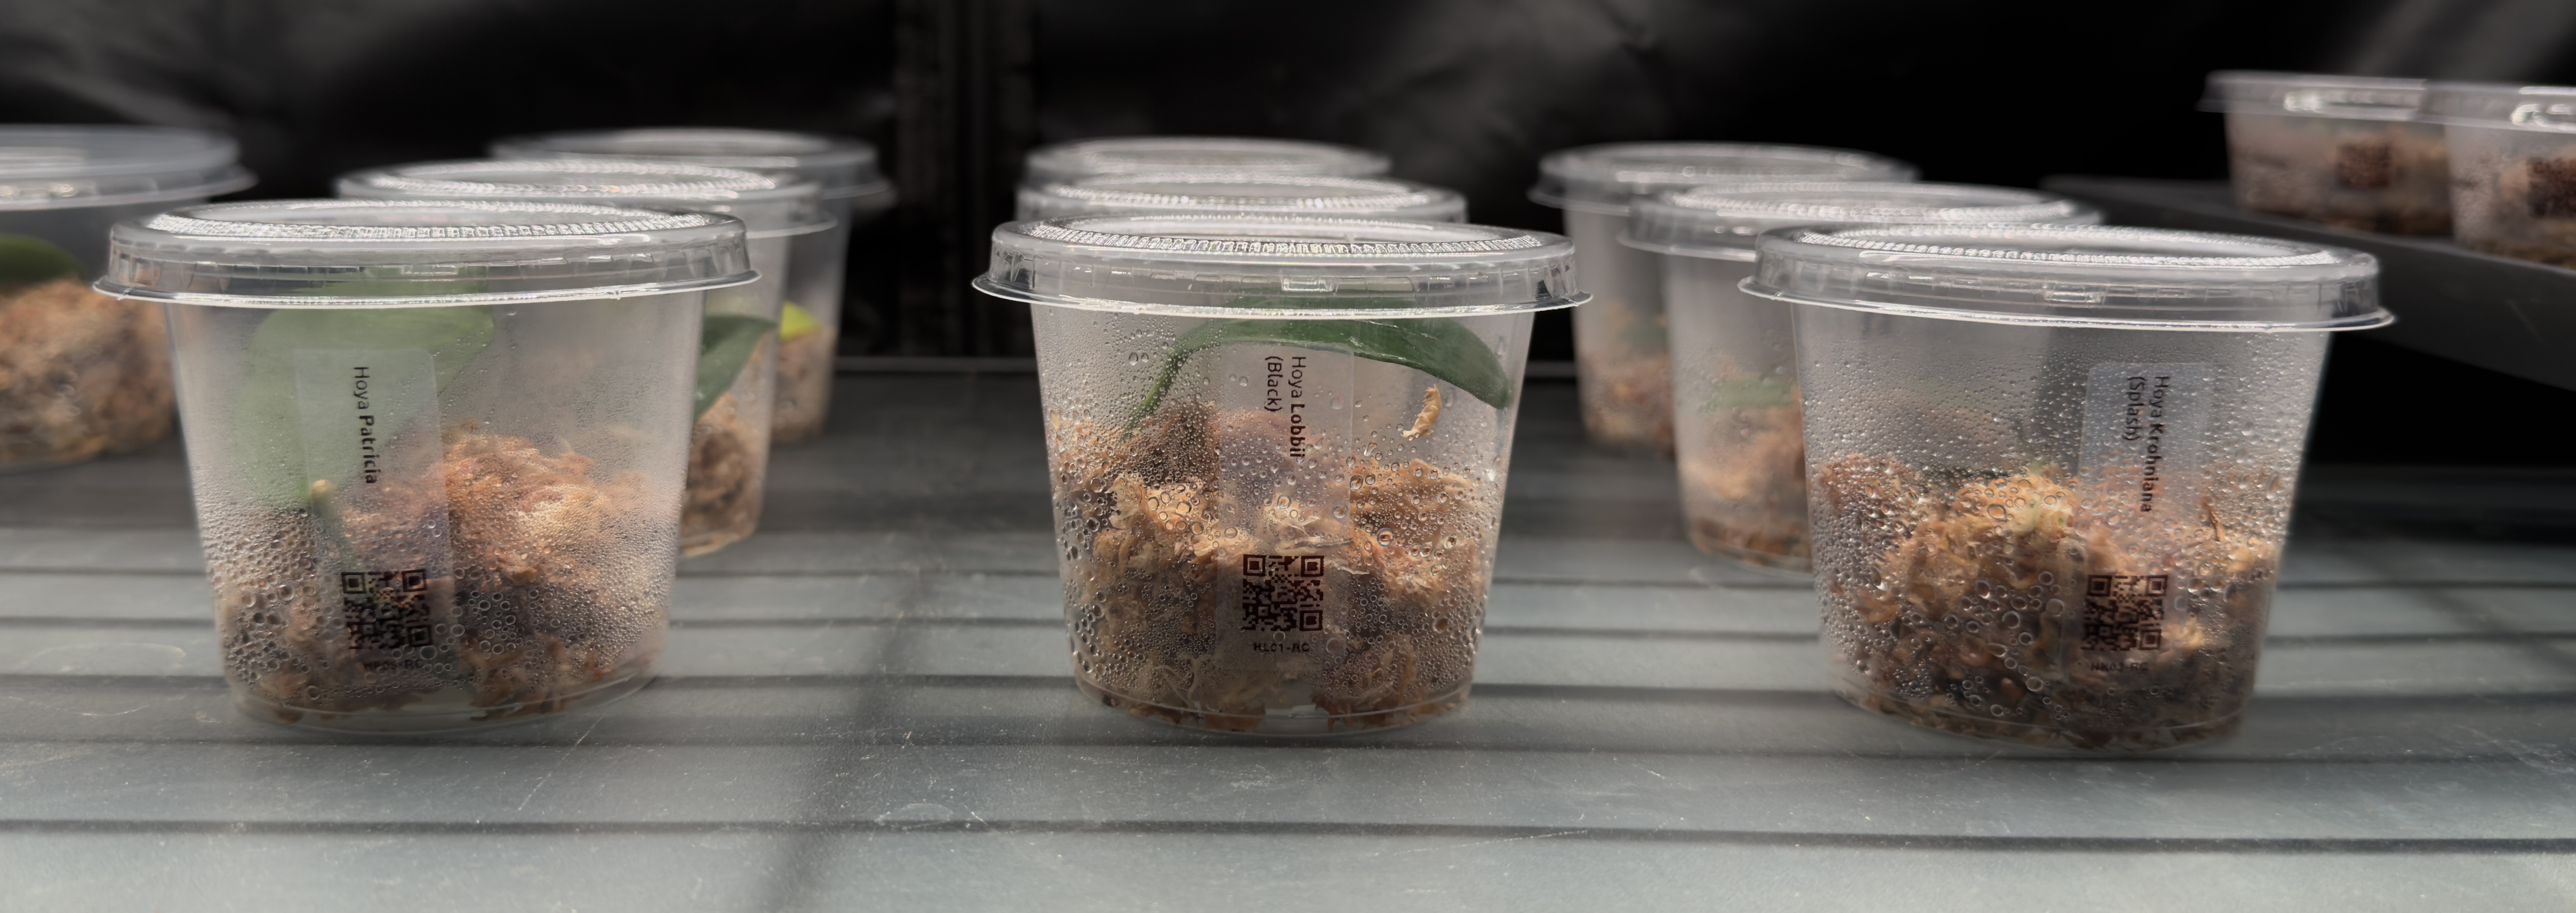
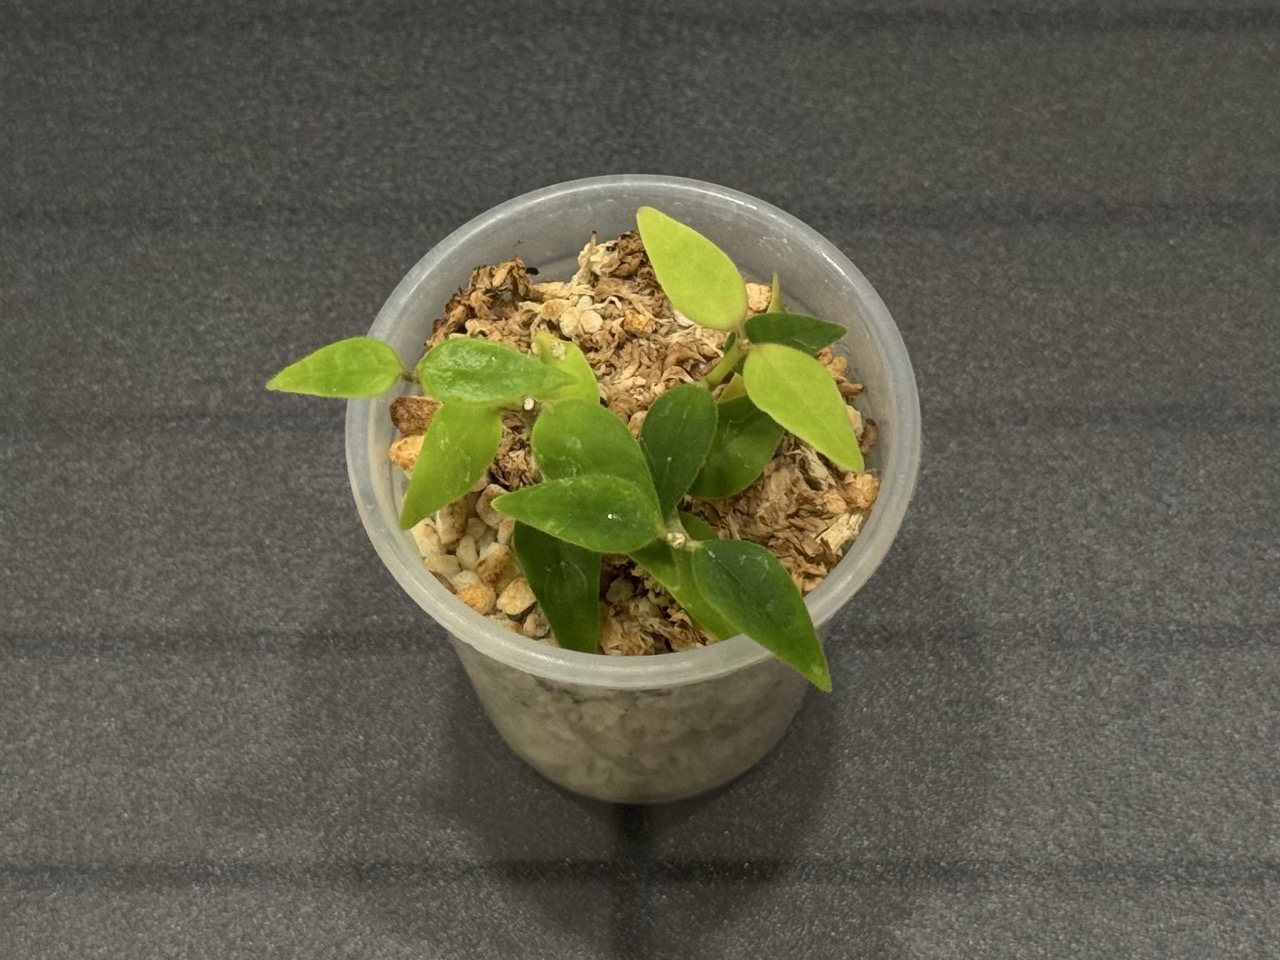
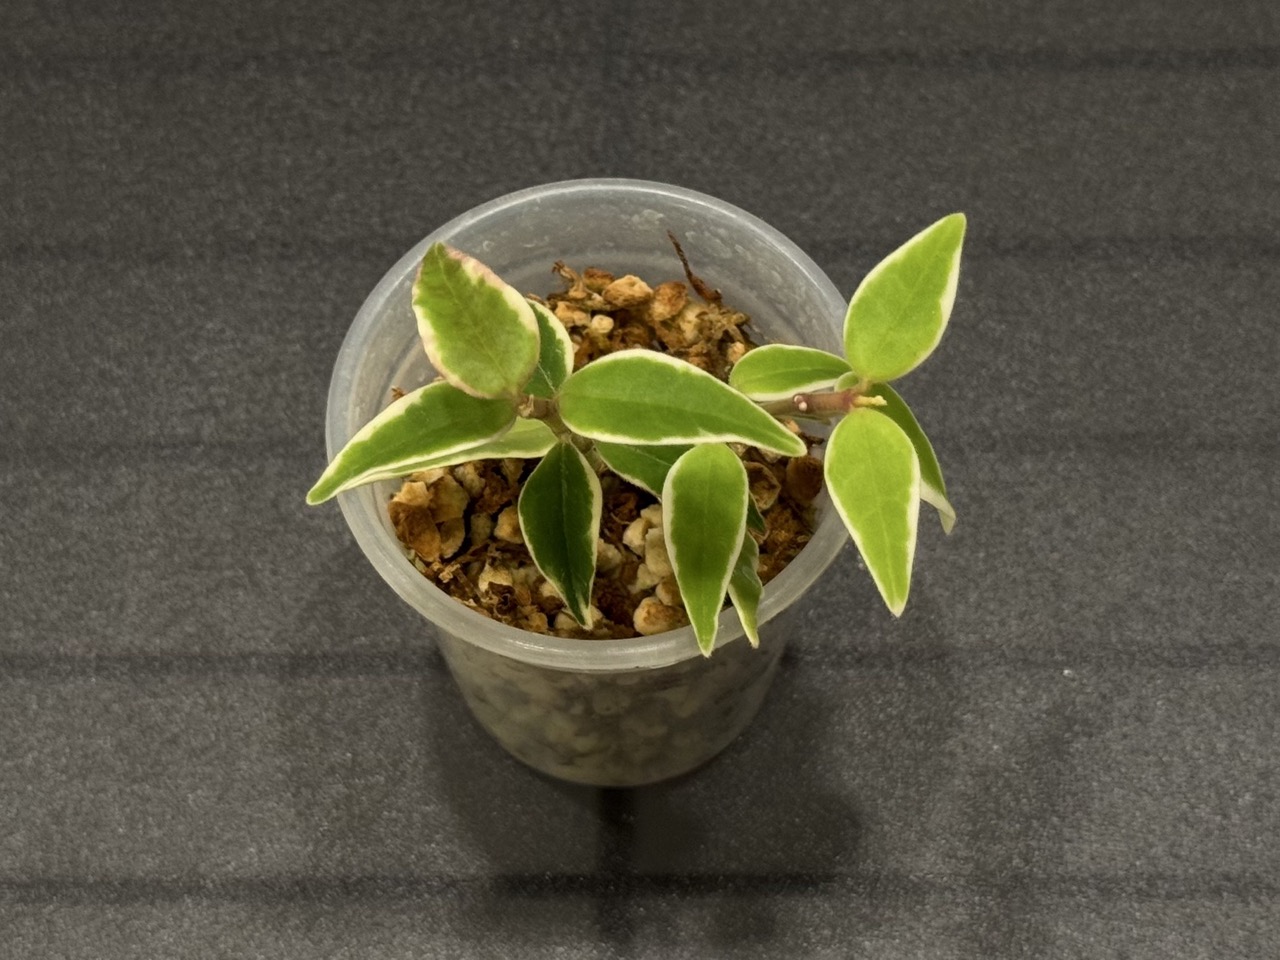
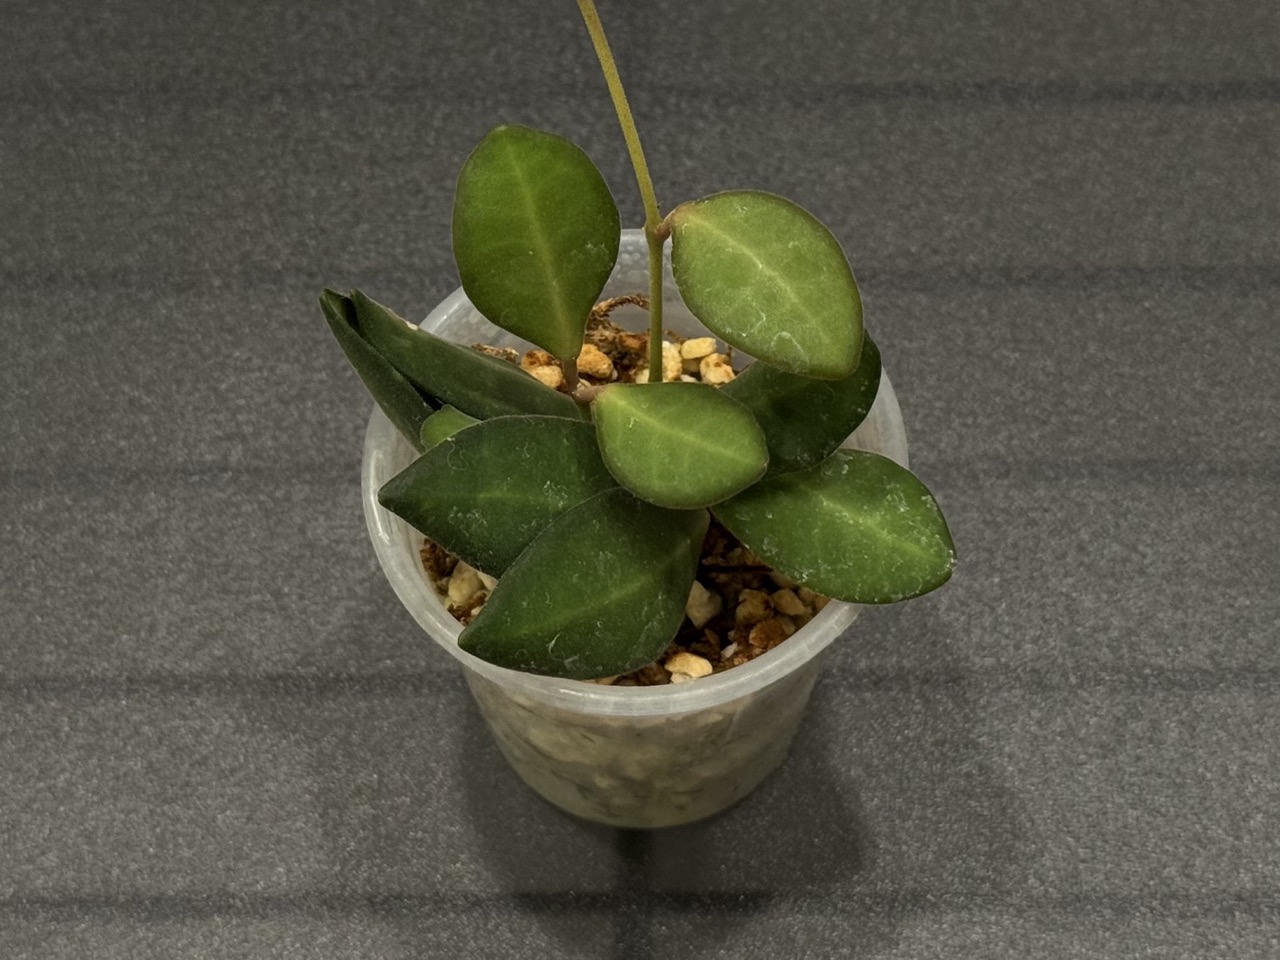
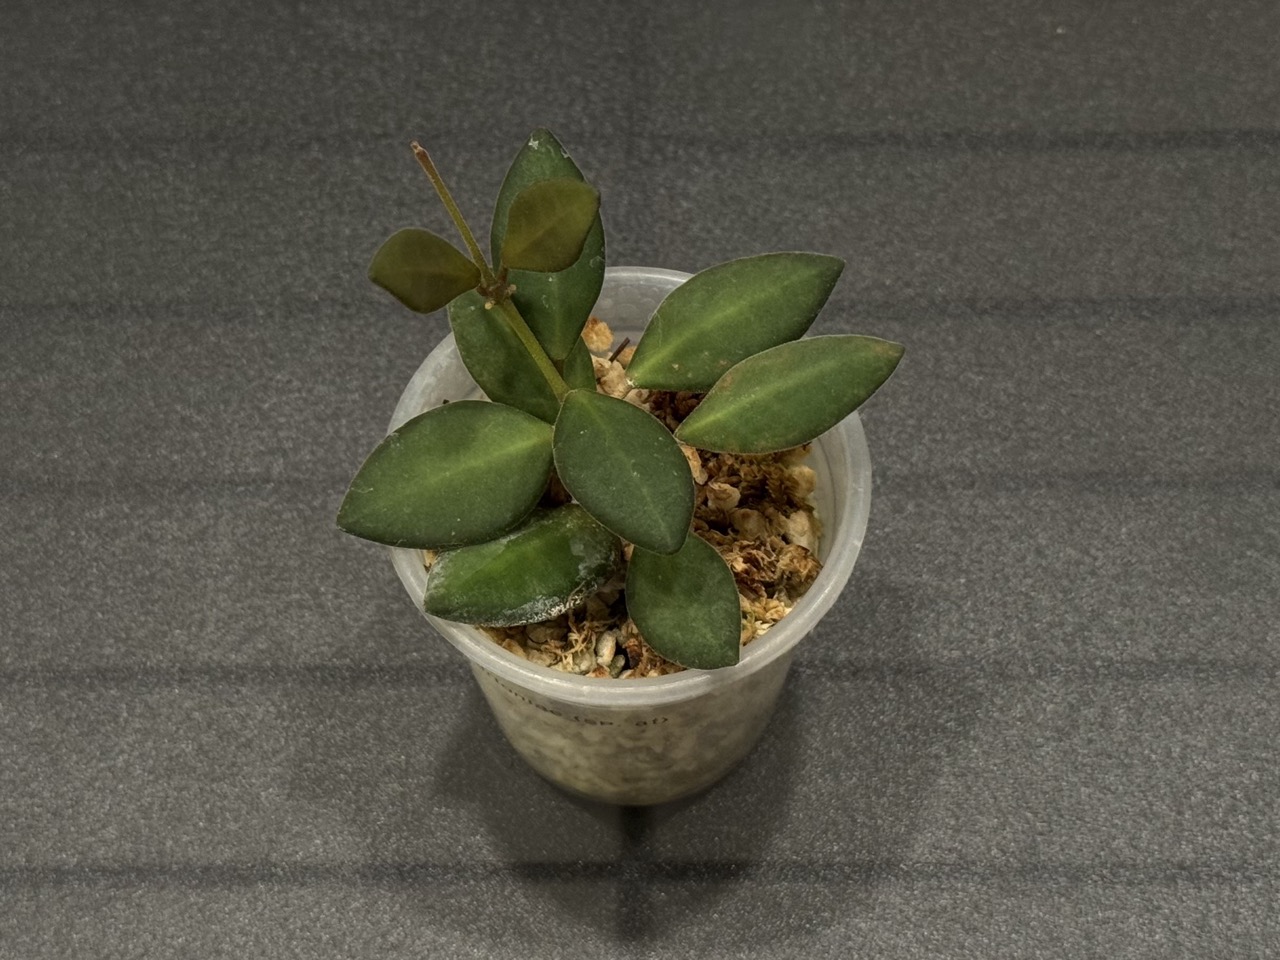
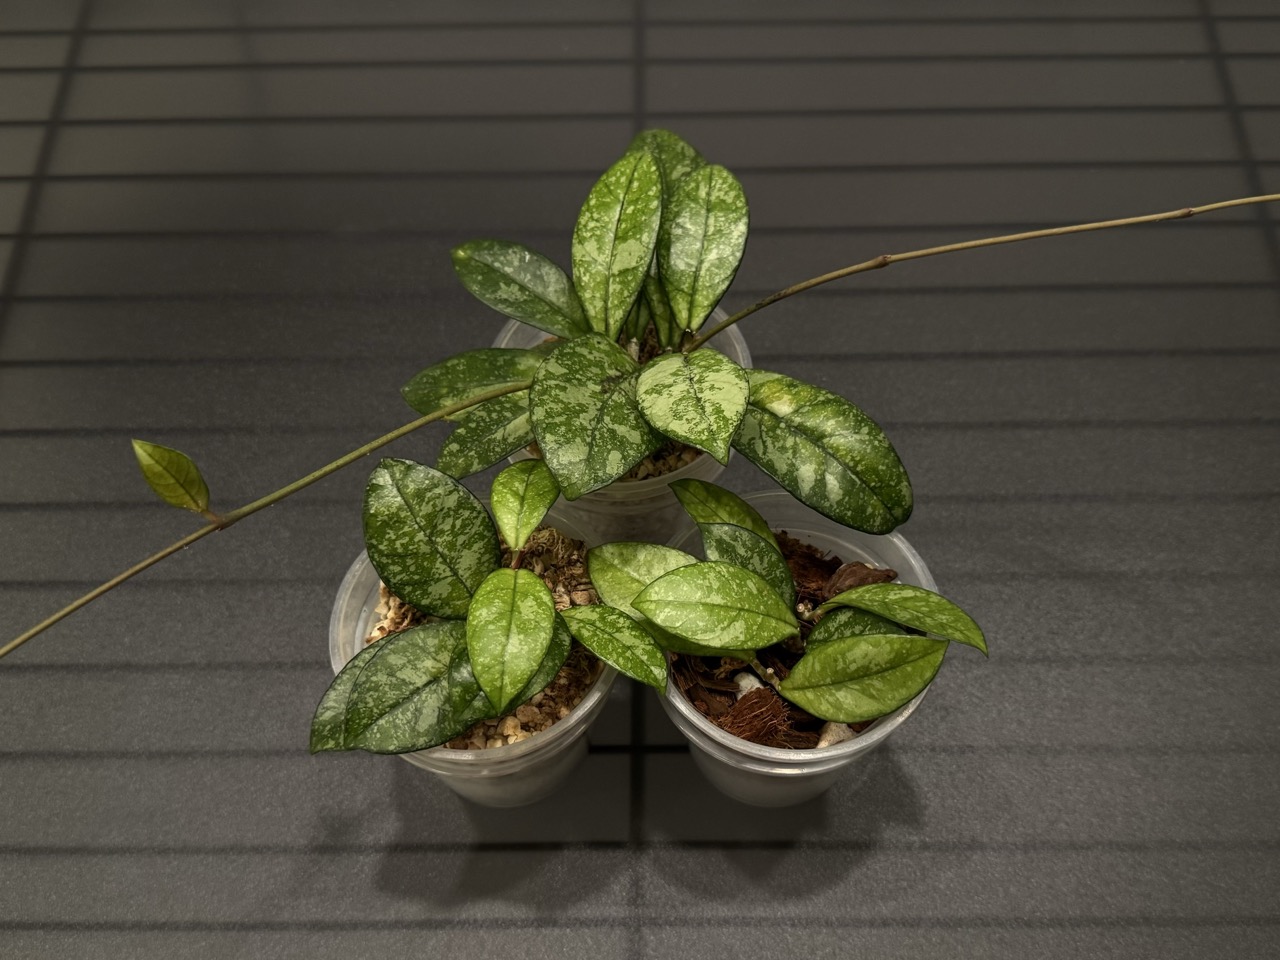
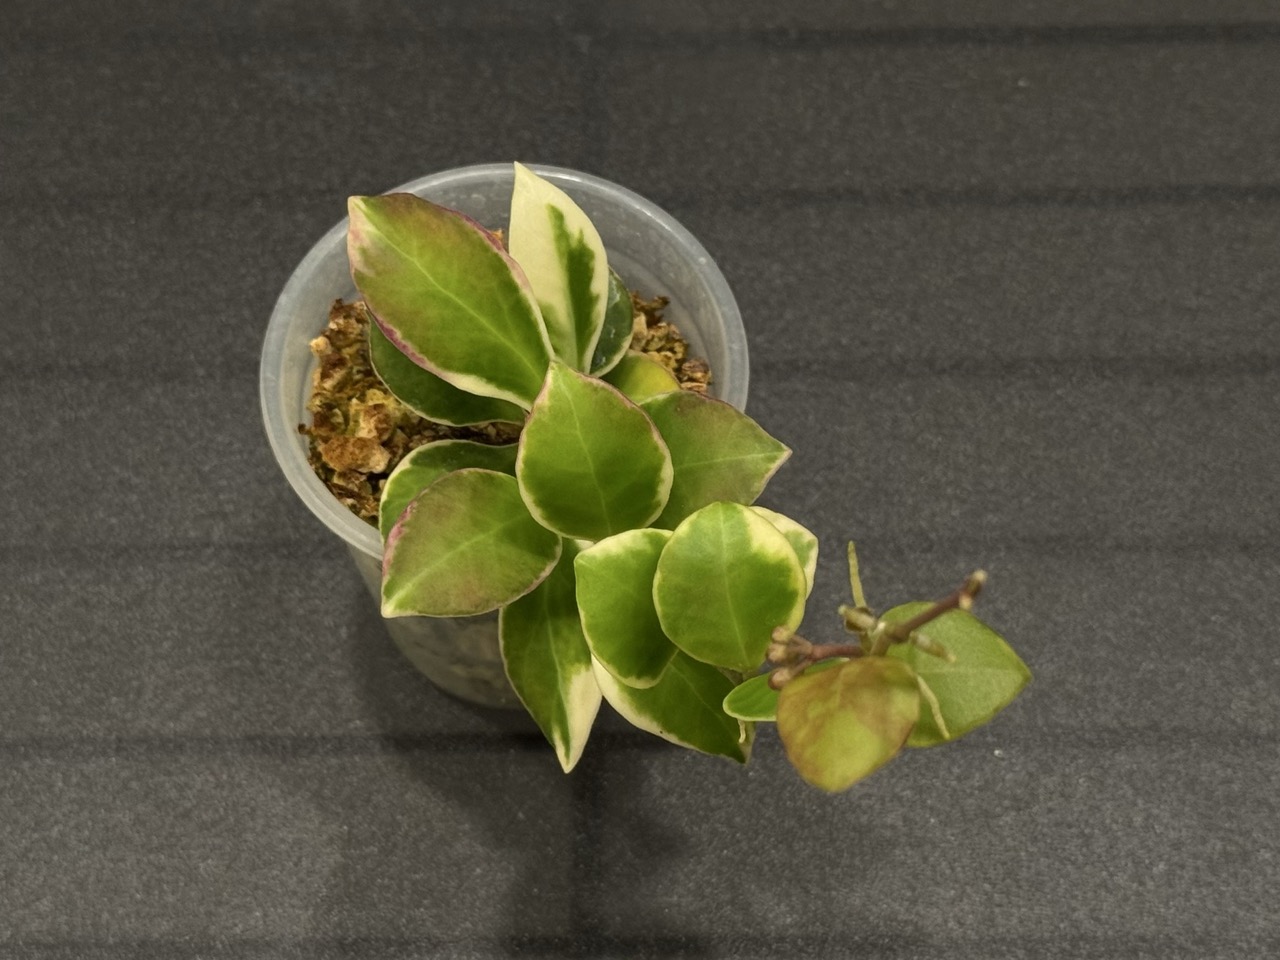
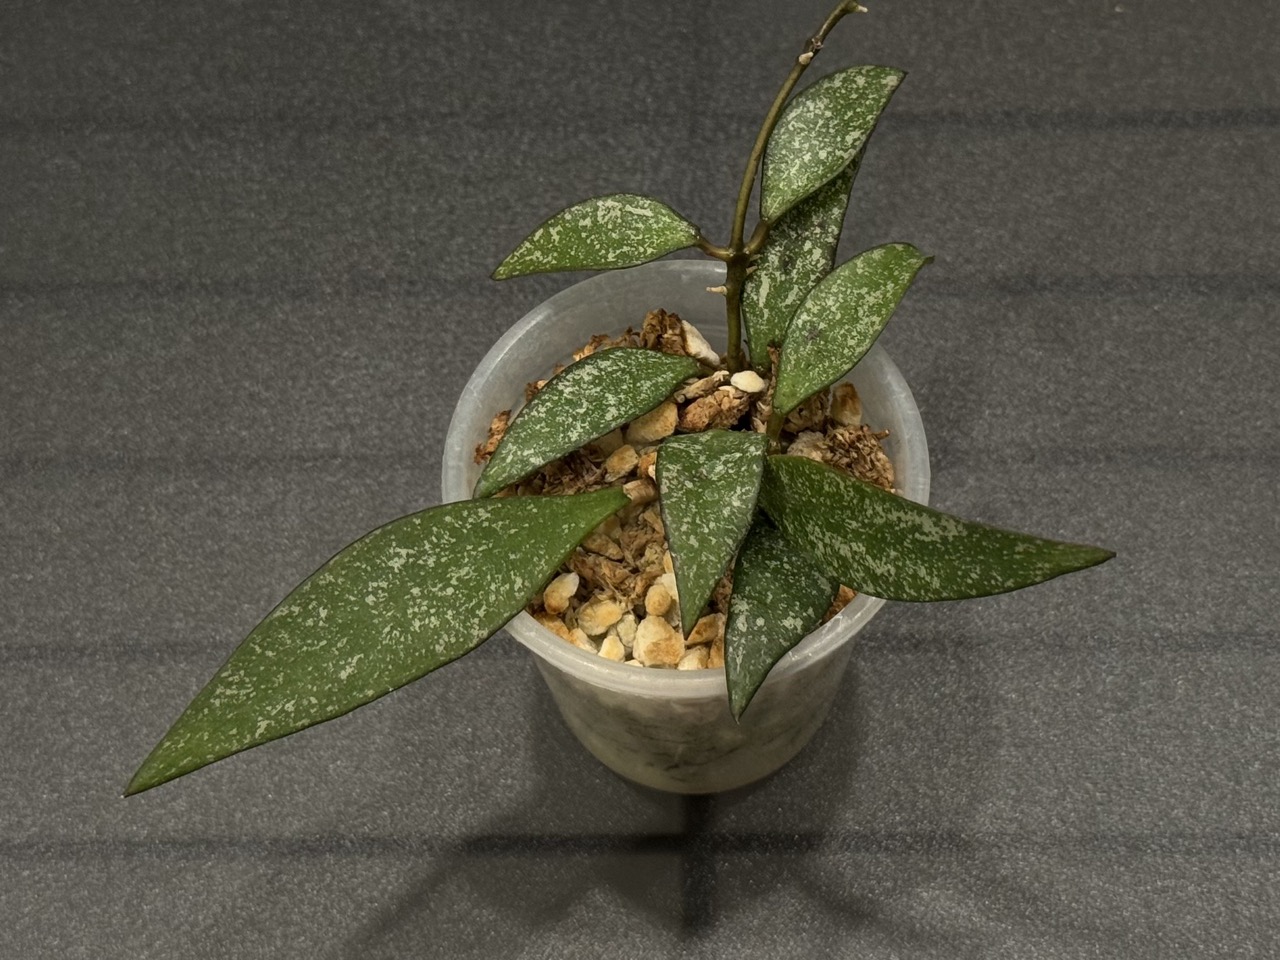
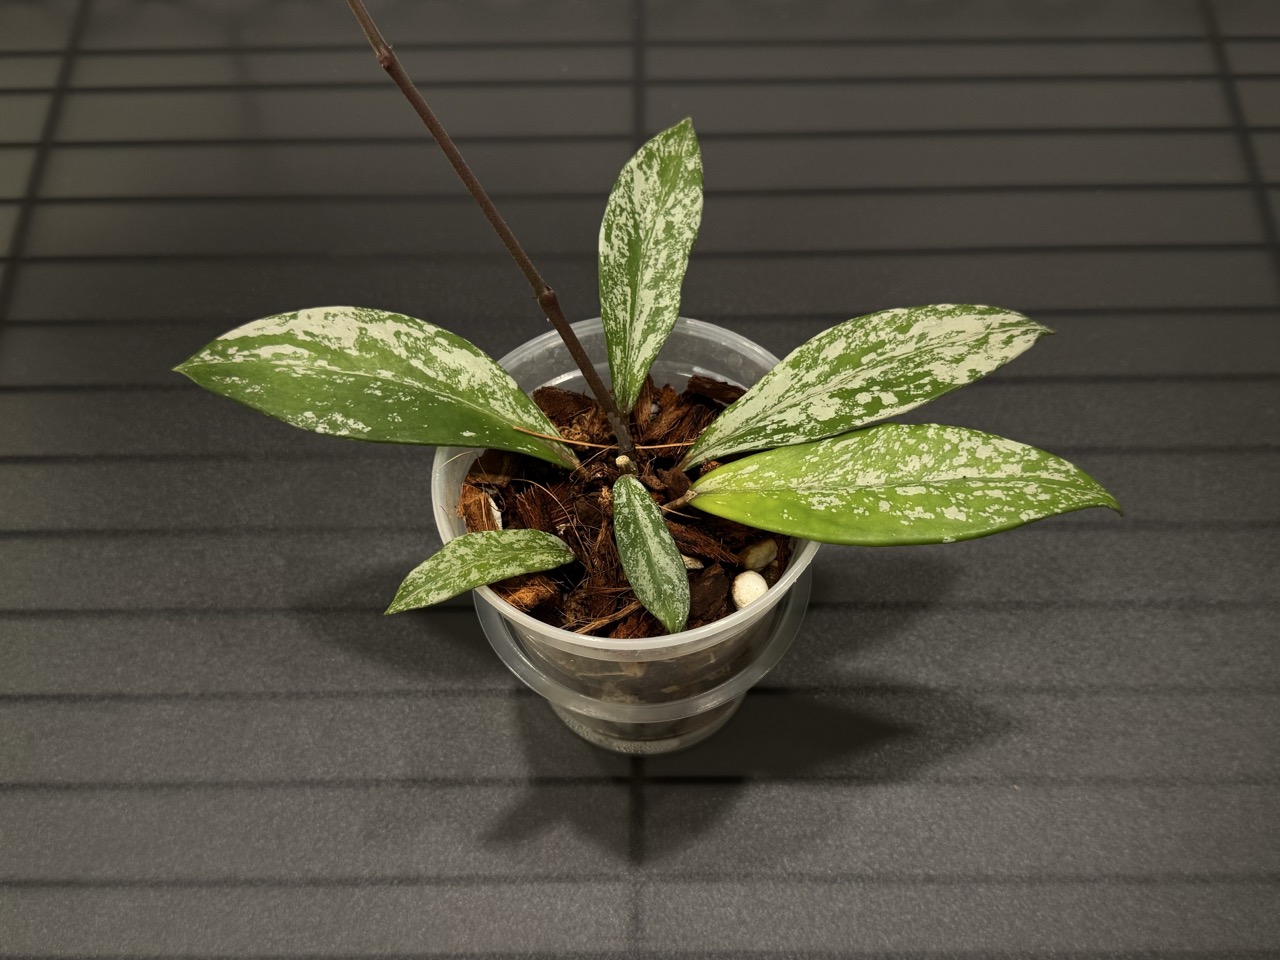
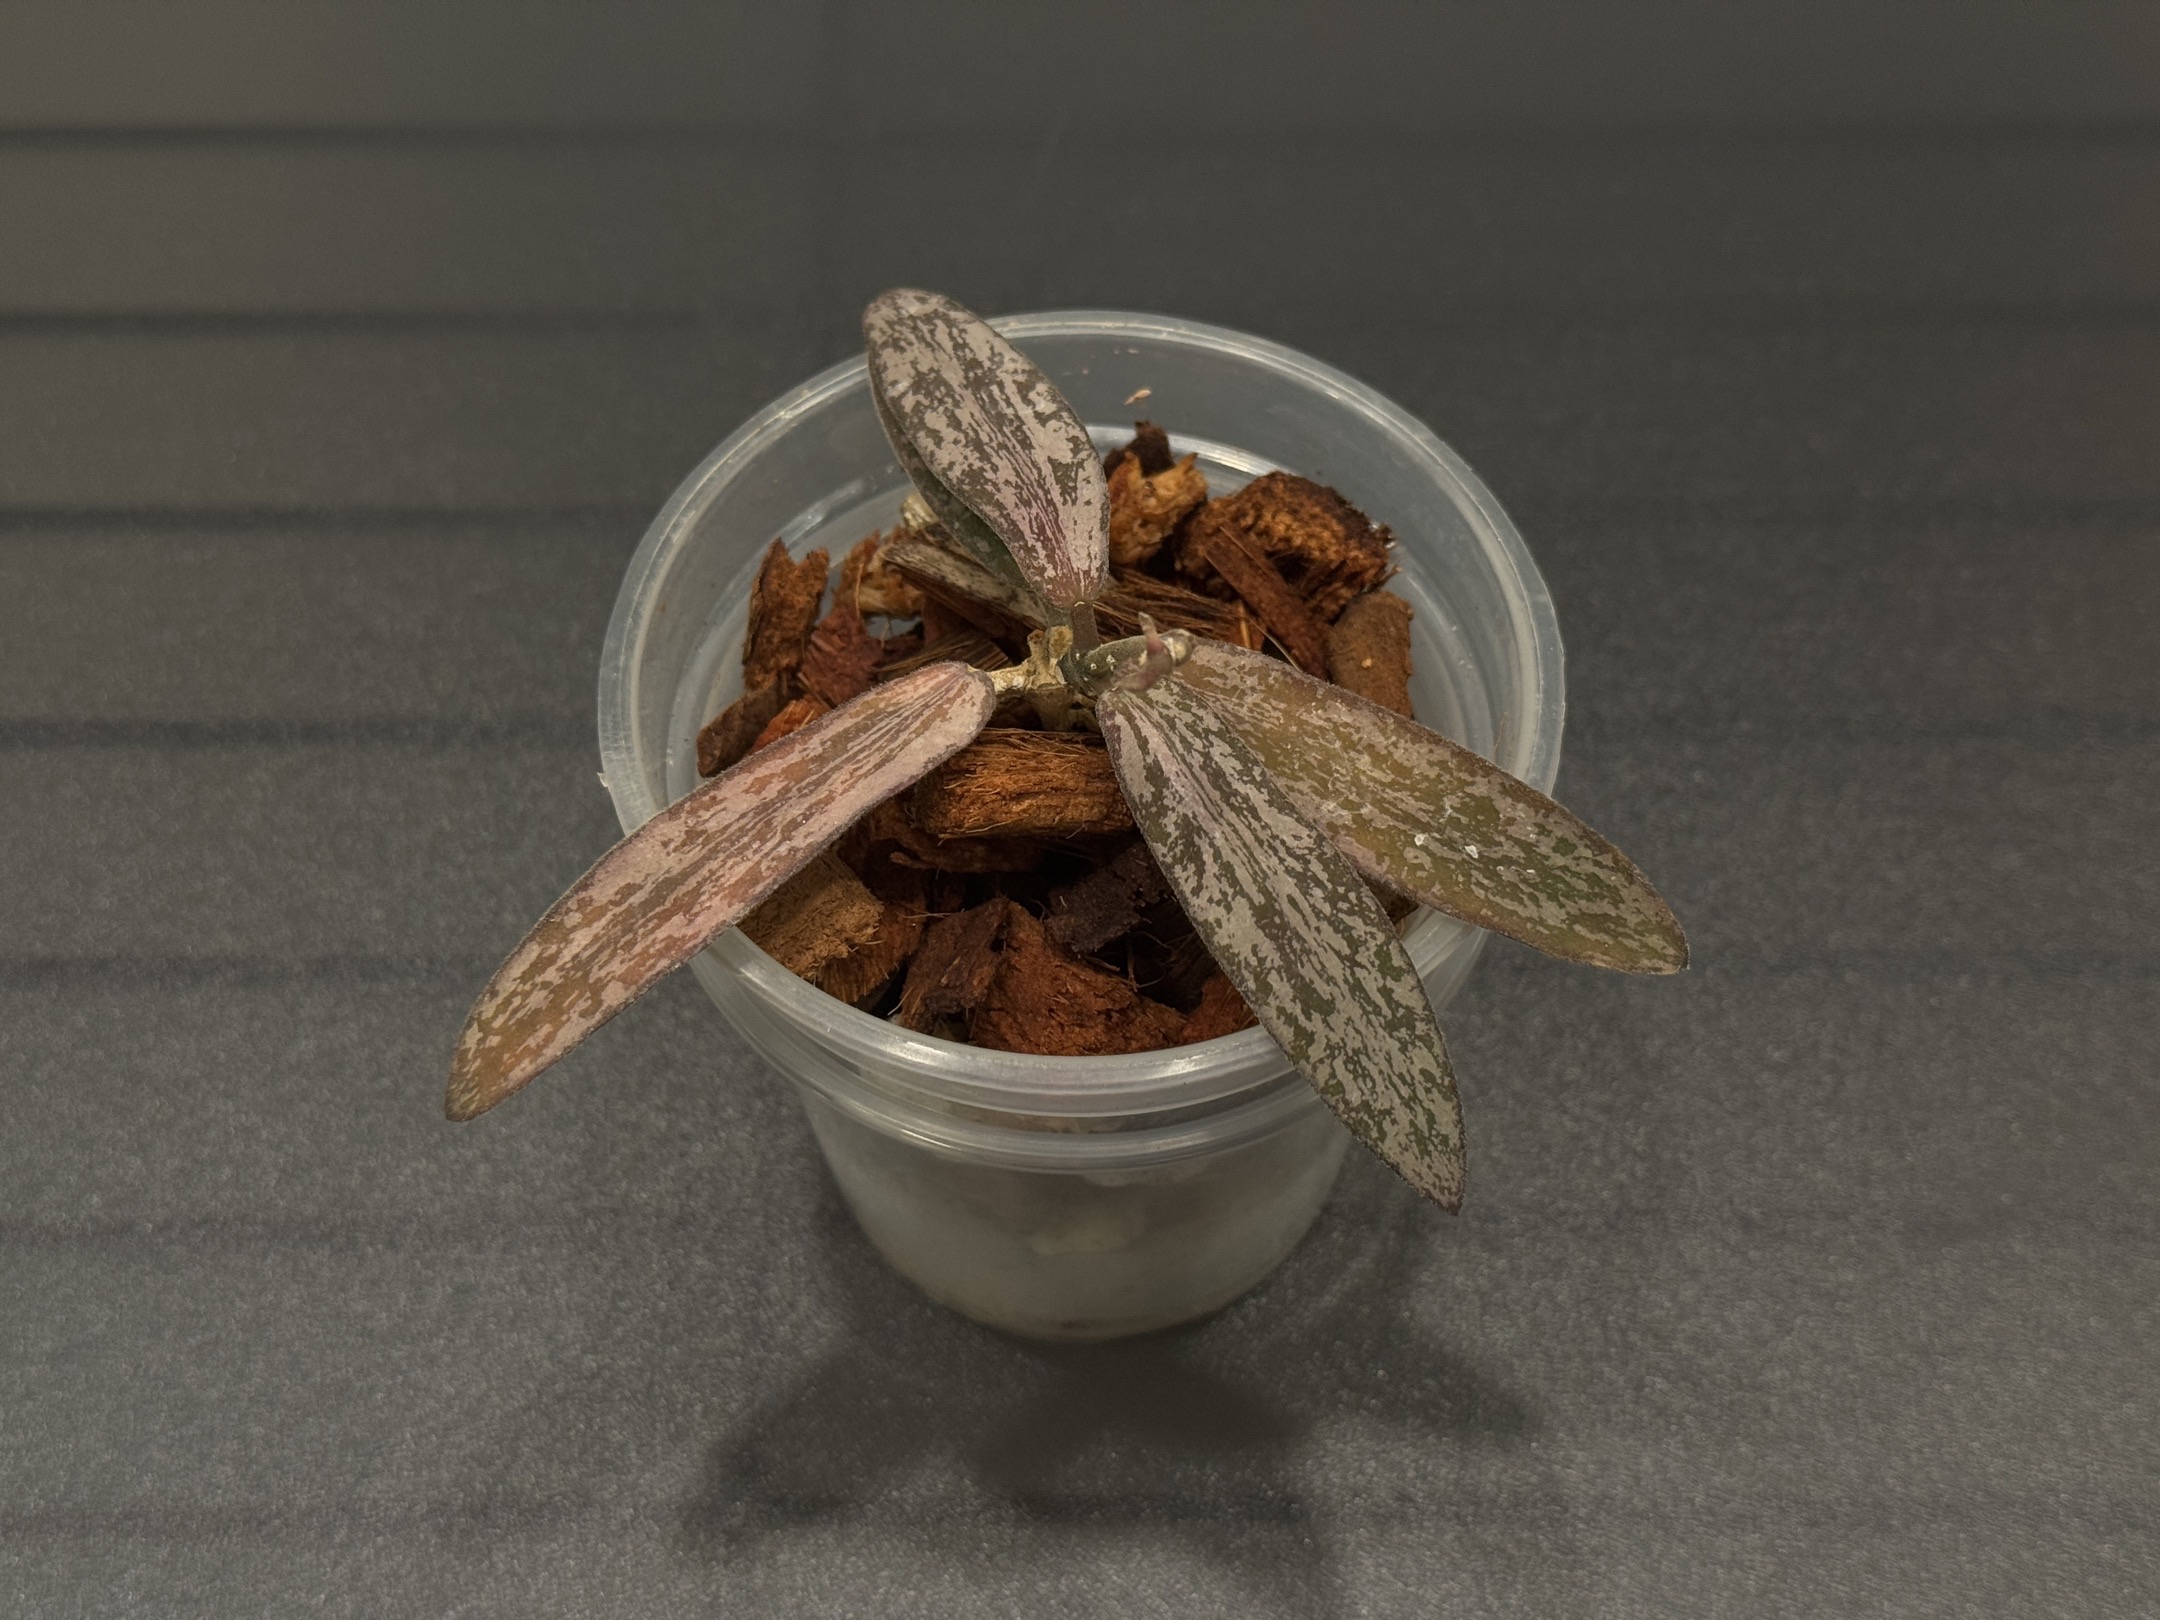
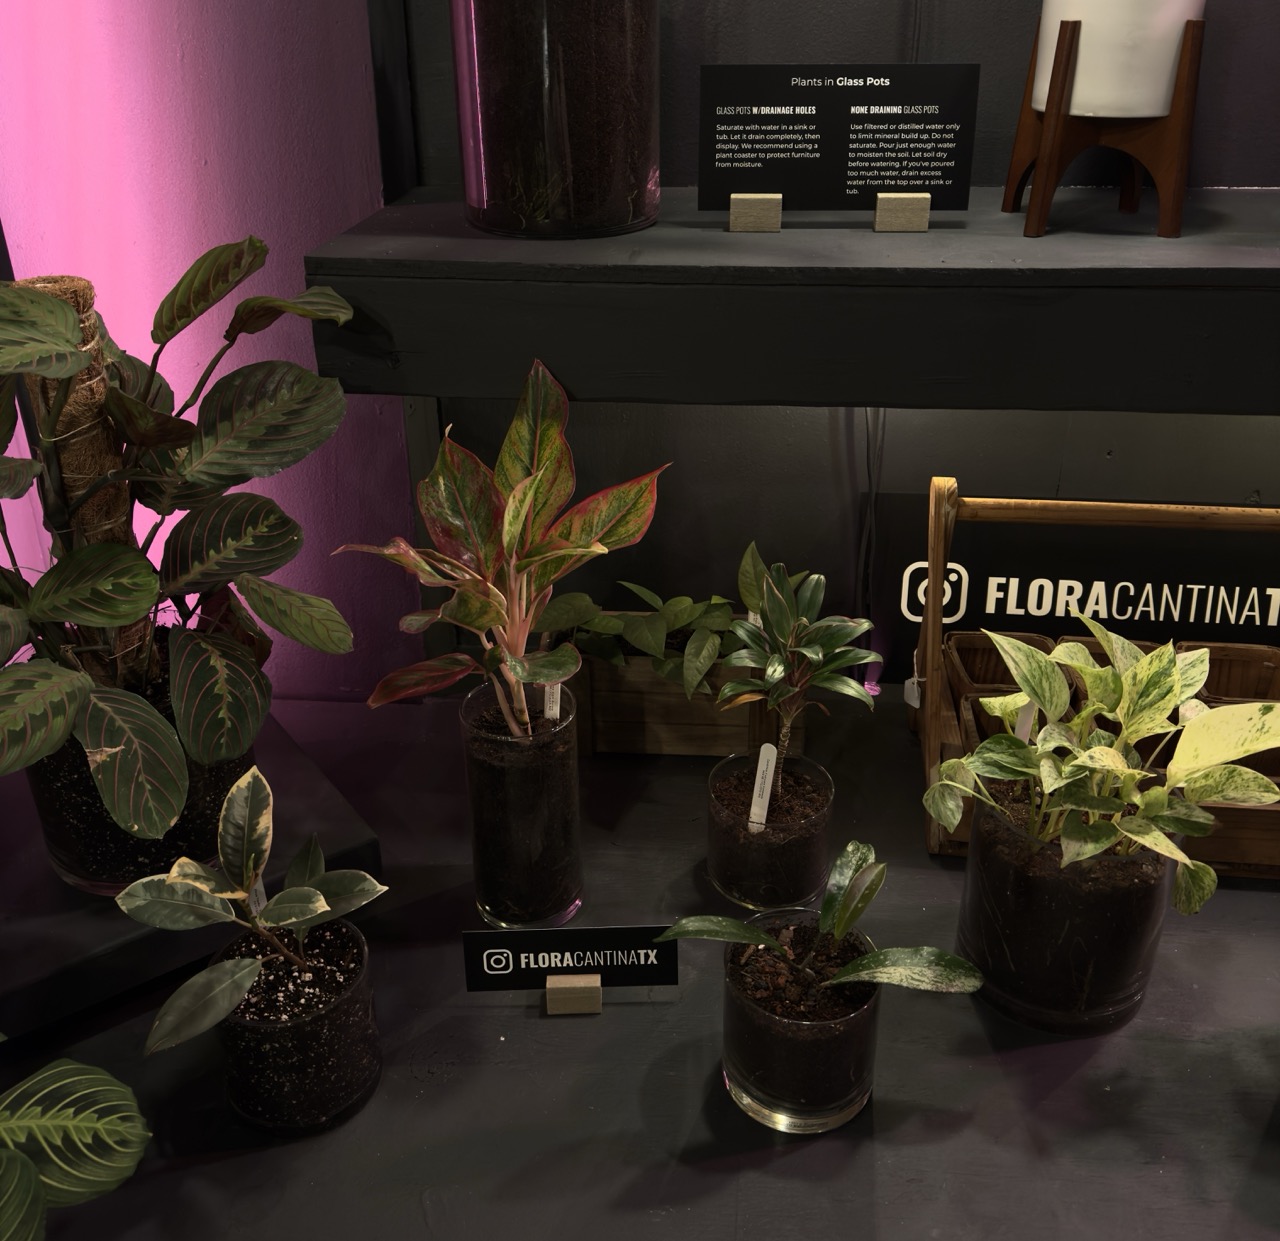
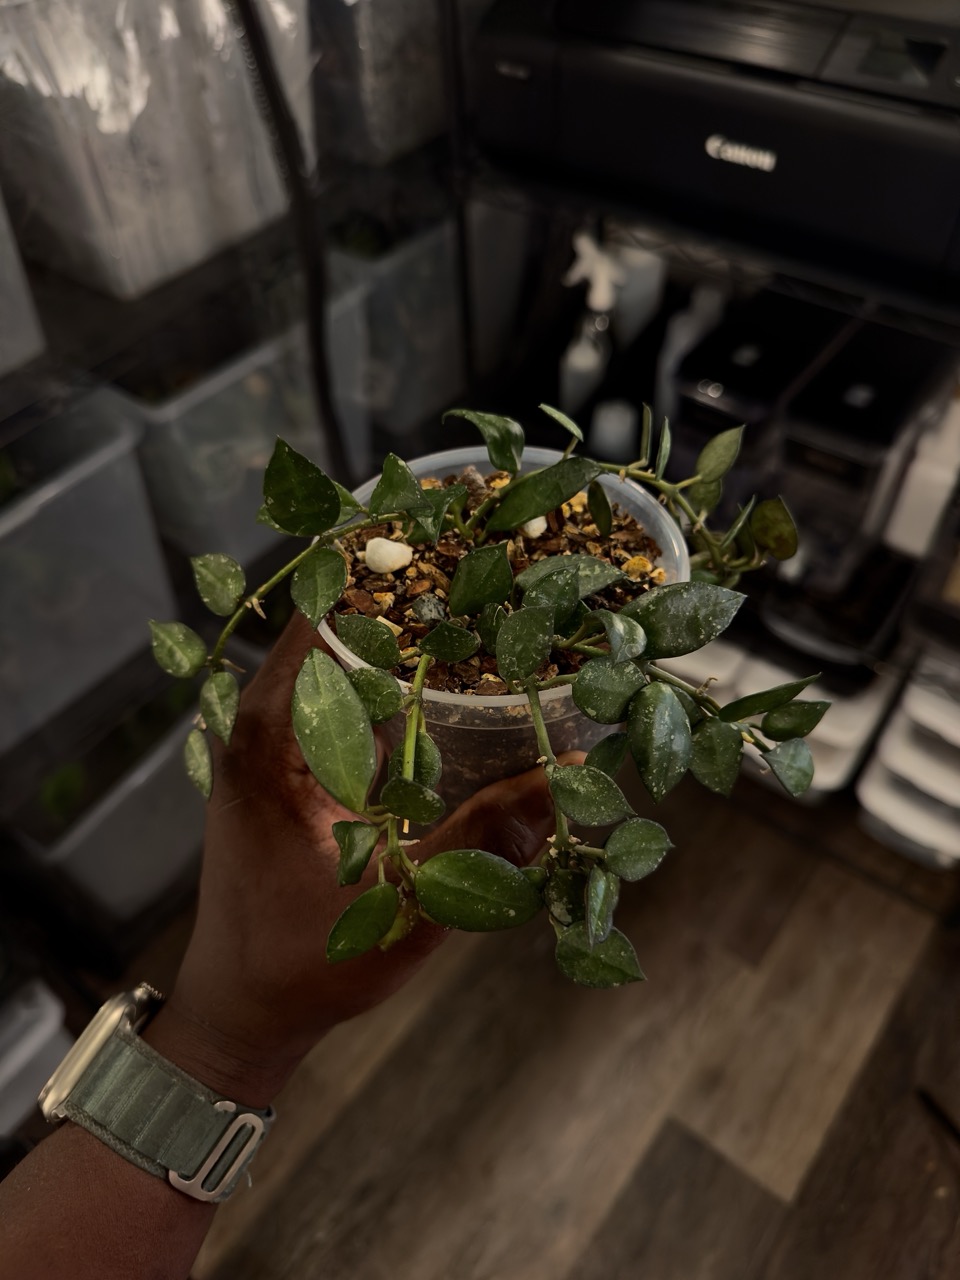
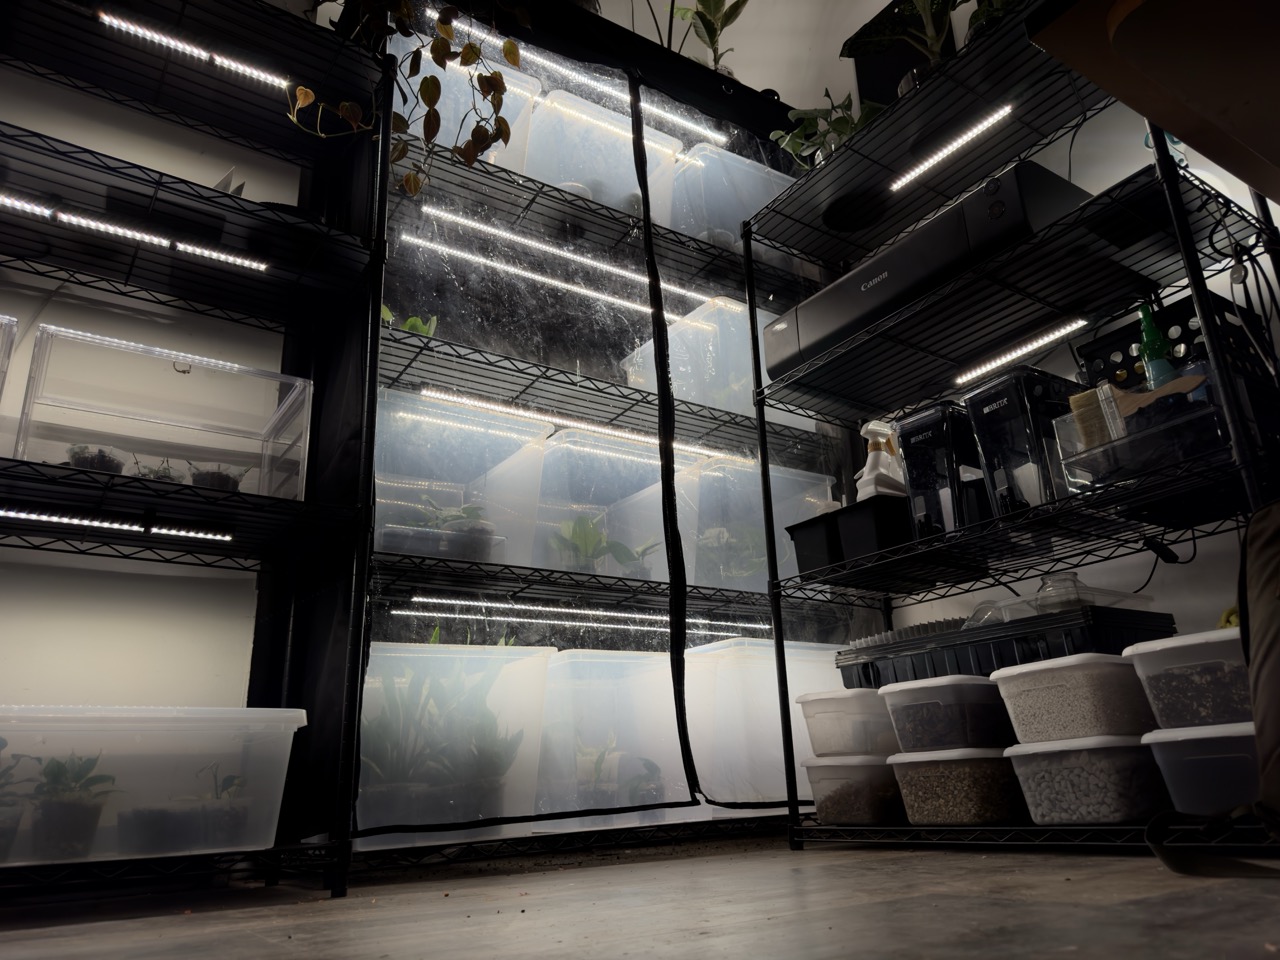
Your rooted cutting from Flora Cantina was grown and established in a controlled, high-humidity environment. Each cutting is fully rooted before sale, housed in a 5.5oz snap-lid humidity cup to protect delicate roots and new growth.
This guide will walk you through how to care for your cutting and the different options you have moving forward.
What You’re Receiving
A fully rooted cutting (not a fresh prop)
Grown in a high-humidity environment
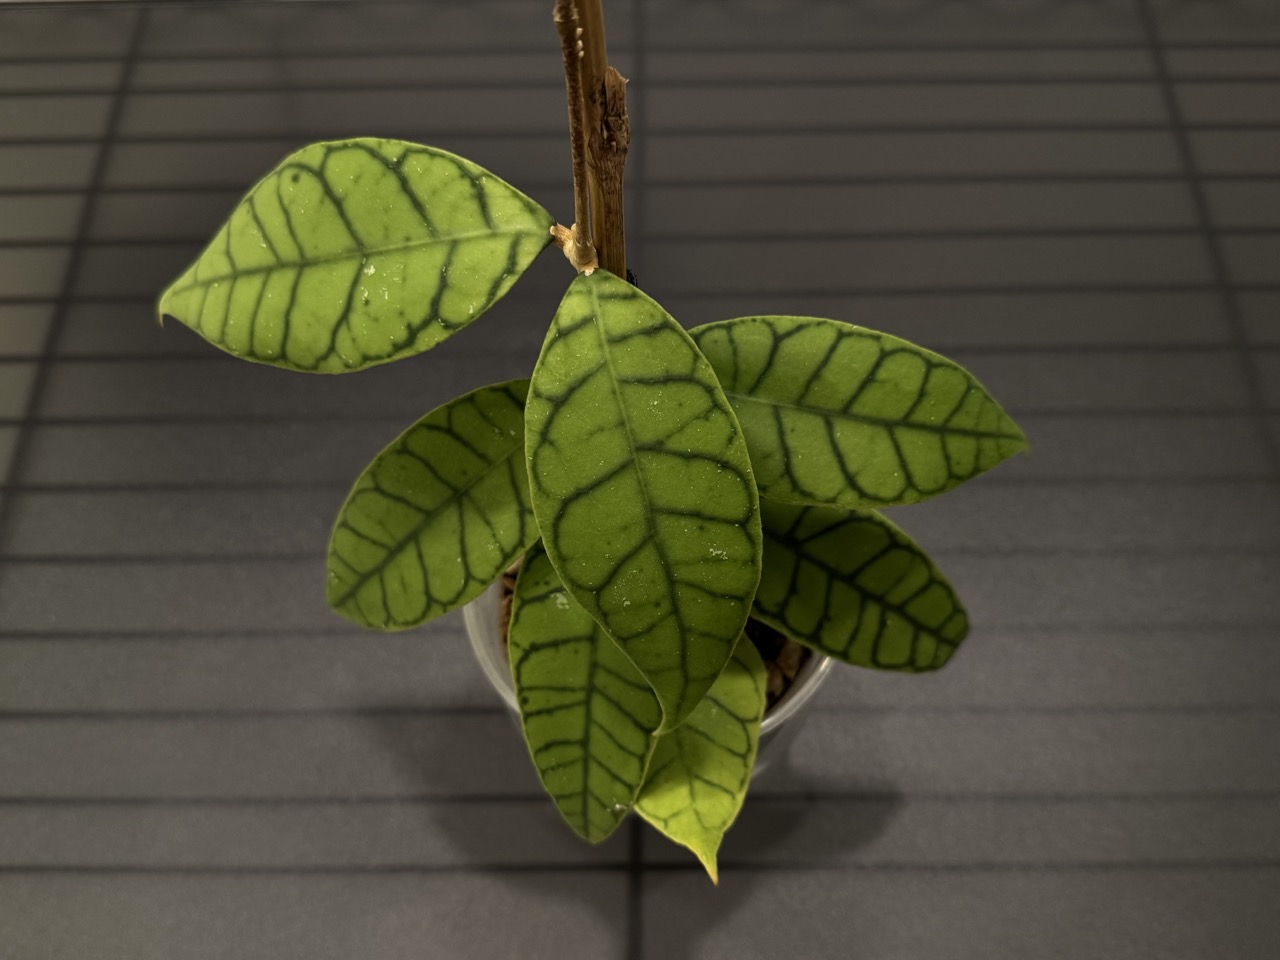
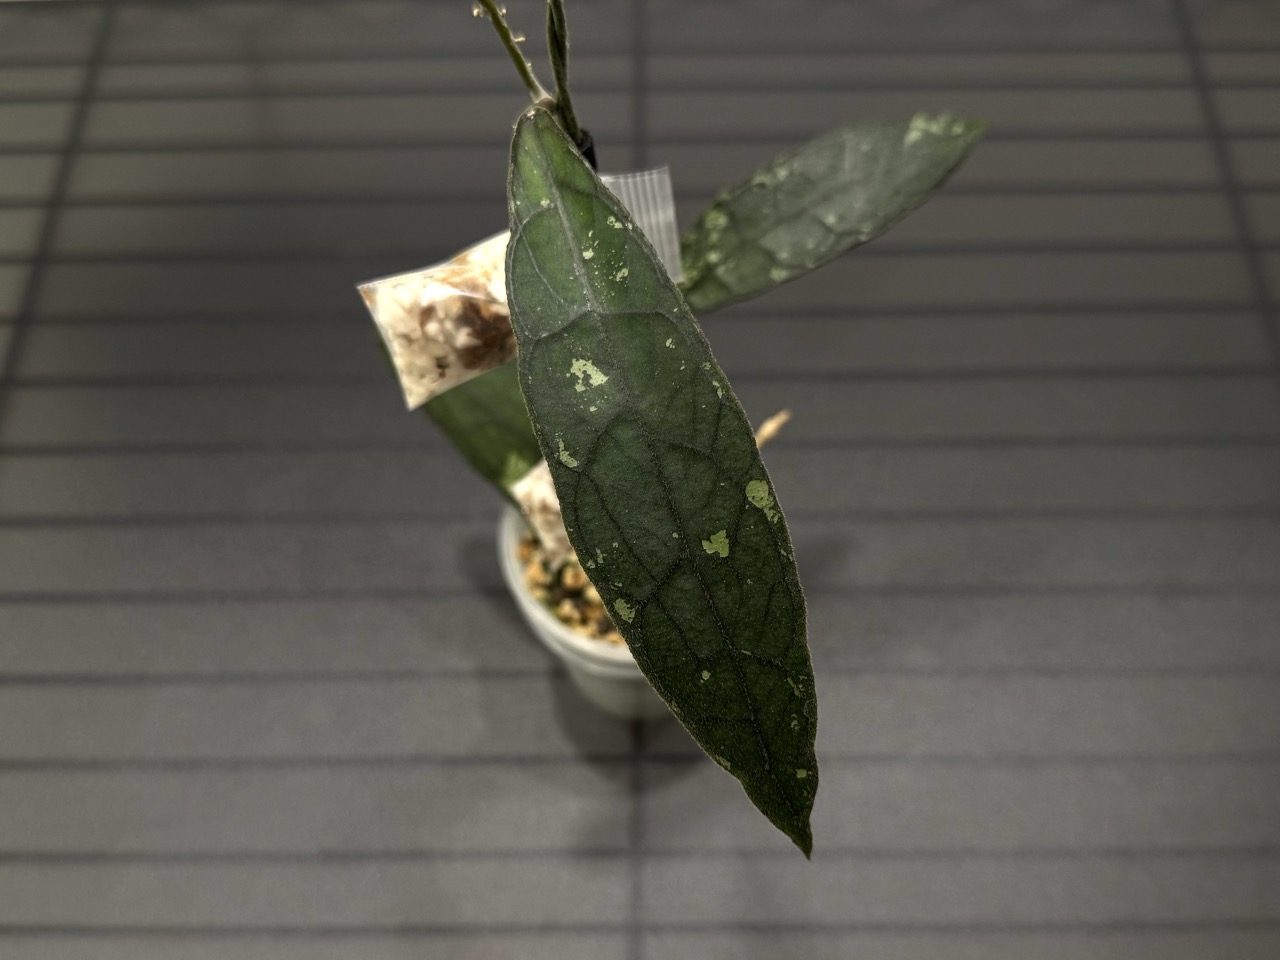
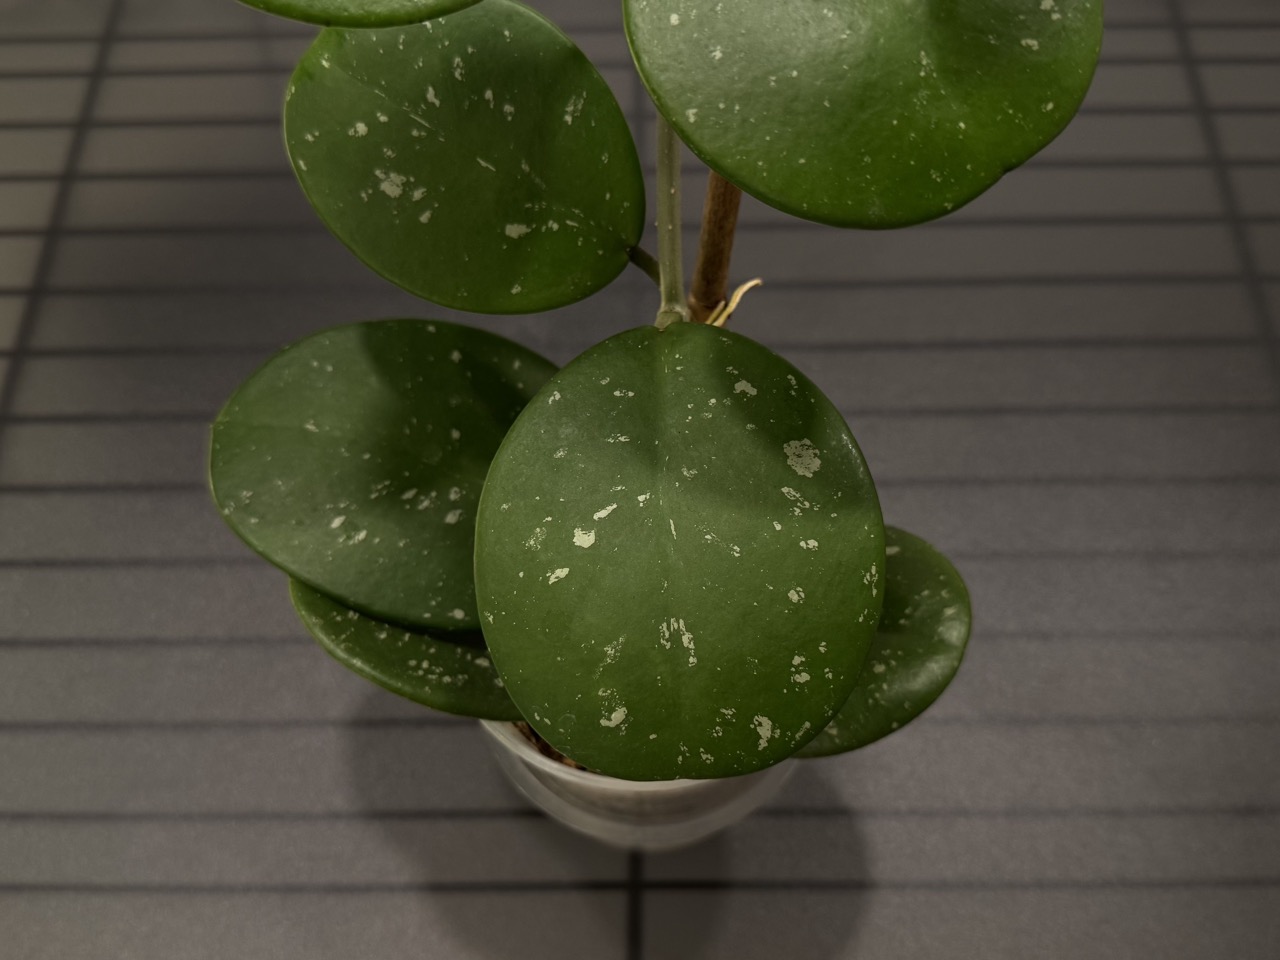
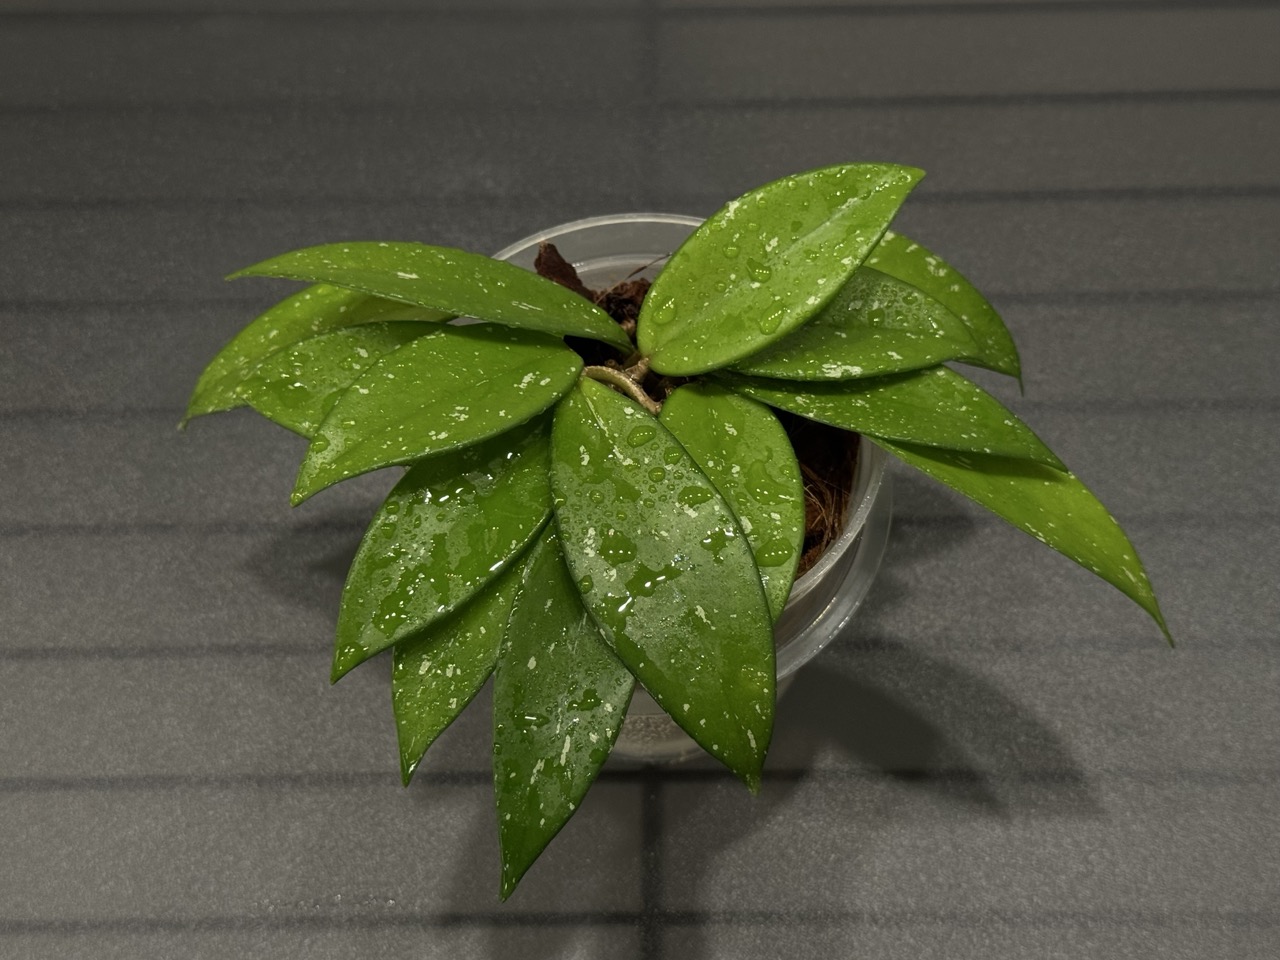
Ideal for Hoyas, Begonias, and Peperomias
Packaged to reduce stress and dehydration
While rooted, these plants are still juvenile and benefit from a gentle transition into your home conditions.
First Things First : Don’t Rush It
When you receive your cutting:
Keep it sealed in its container for at least 3–7 days
Place it in bright, indirect light
Avoid direct sun or heat sources
Do not water unless the substrate is completely dry (most won’t need water immediately)
This allows the plant to recover from transport and adjust to your environment.
Your Care Options
You have a few different paths you can take depending on your comfort level and setup:
Option 1 : Keep It in the Humidity Cup (Recommended for Beginners)
You may keep your cutting in its original container for 1–3 weeks.
Best Practices:
Open the lid briefly every few days to allow fresh air exchange
If condensation is excessive, crack the lid slightly
Keep in bright, indirect light
Spray/mist a bit of water if the substrate becomes dry
This option minimizes shock and supports steady growth.
Option 2 : Gradual Acclimation (Best Balance)
After the first week:
Open the lid for 30–60 minutes daily
Gradually increase open-air time over 5–10 days
Once the plant shows no signs of stress, remove the lid completely
This method helps the plant adjust to ambient humidity while maintaining healthy growth.
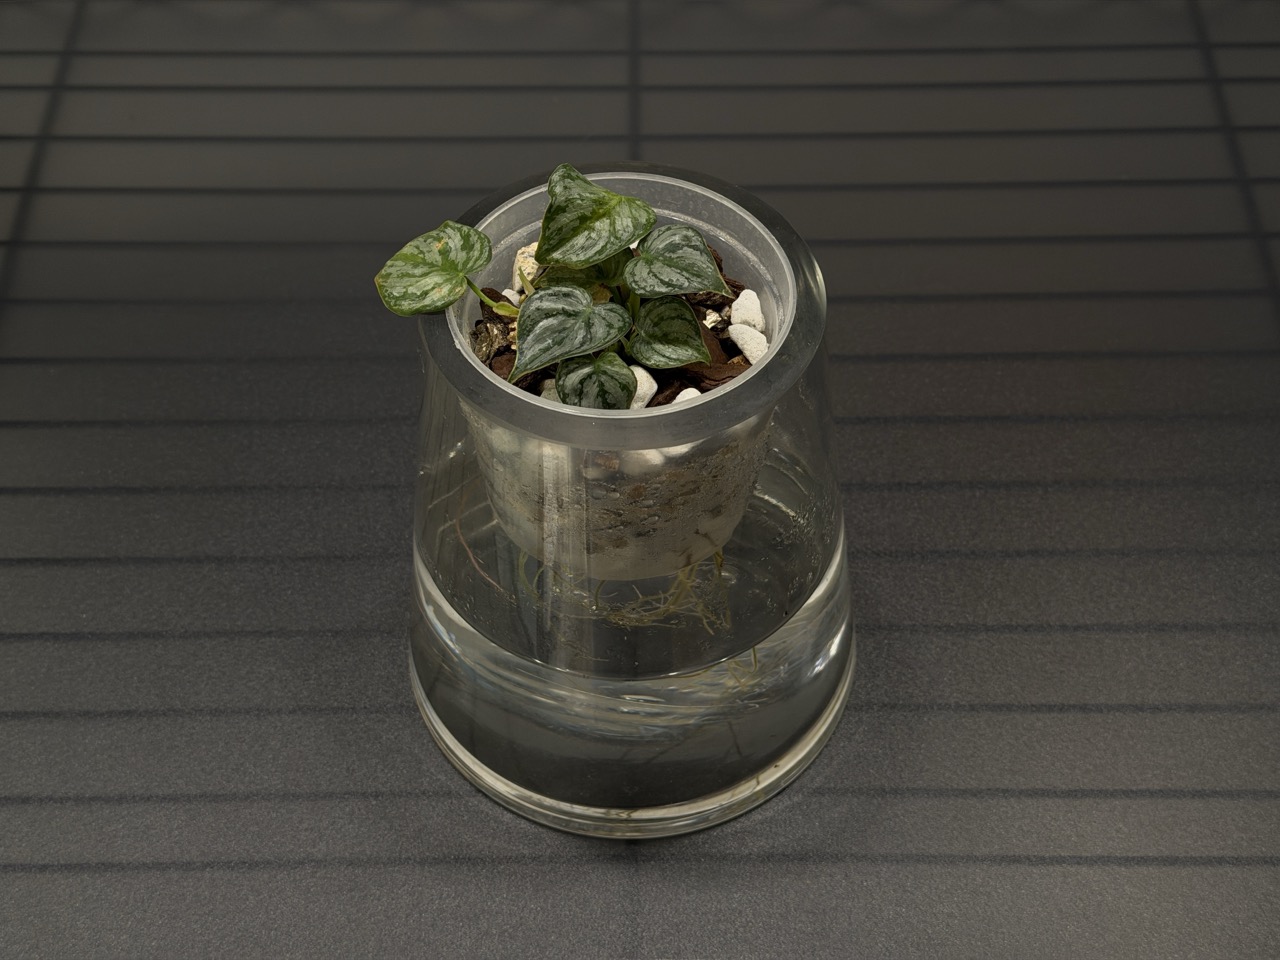
Option 3 : Potting Up (For Experienced Growers)
If you’re comfortable and your environment is stable:
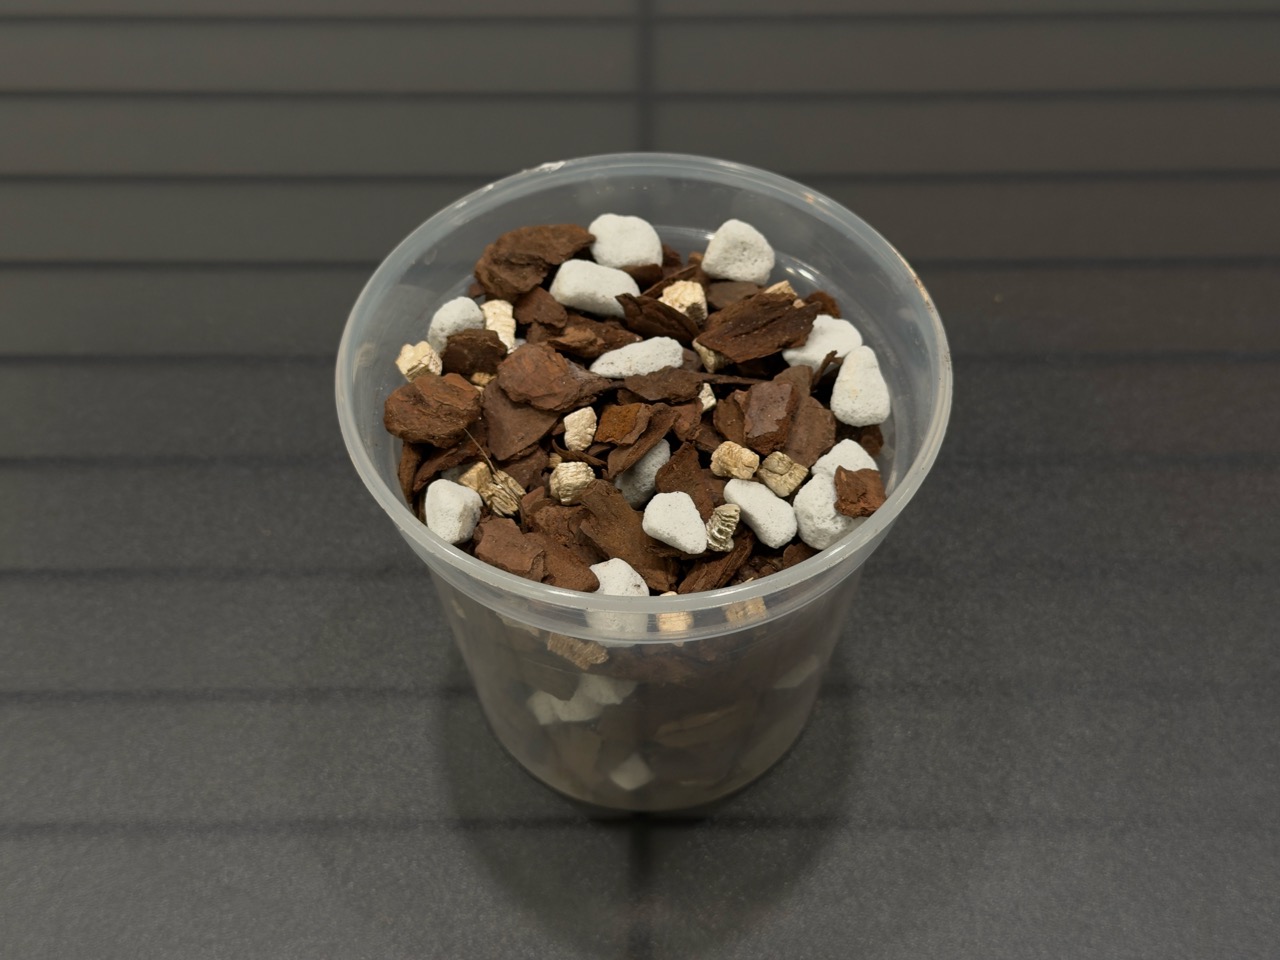
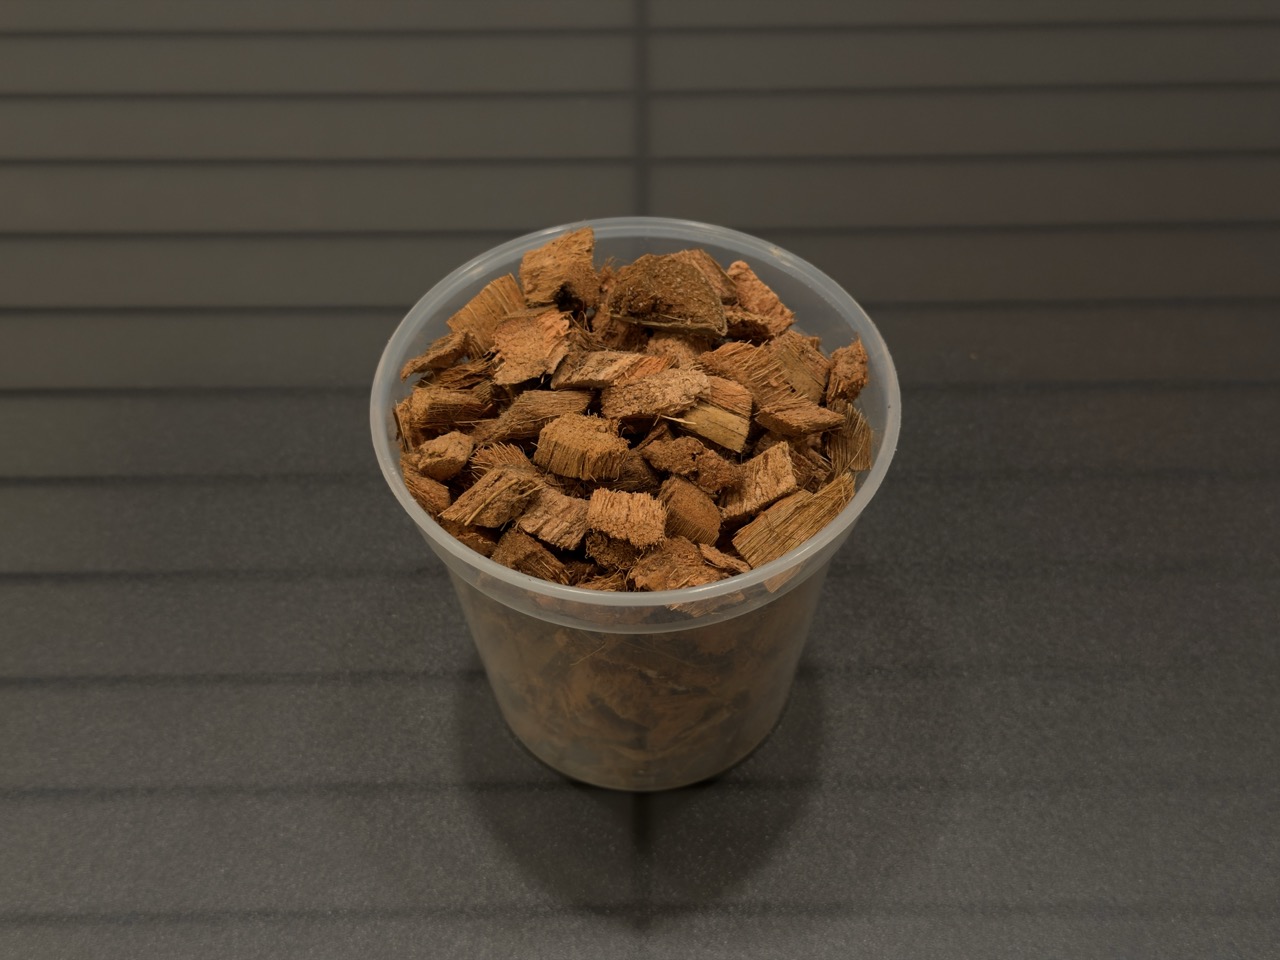
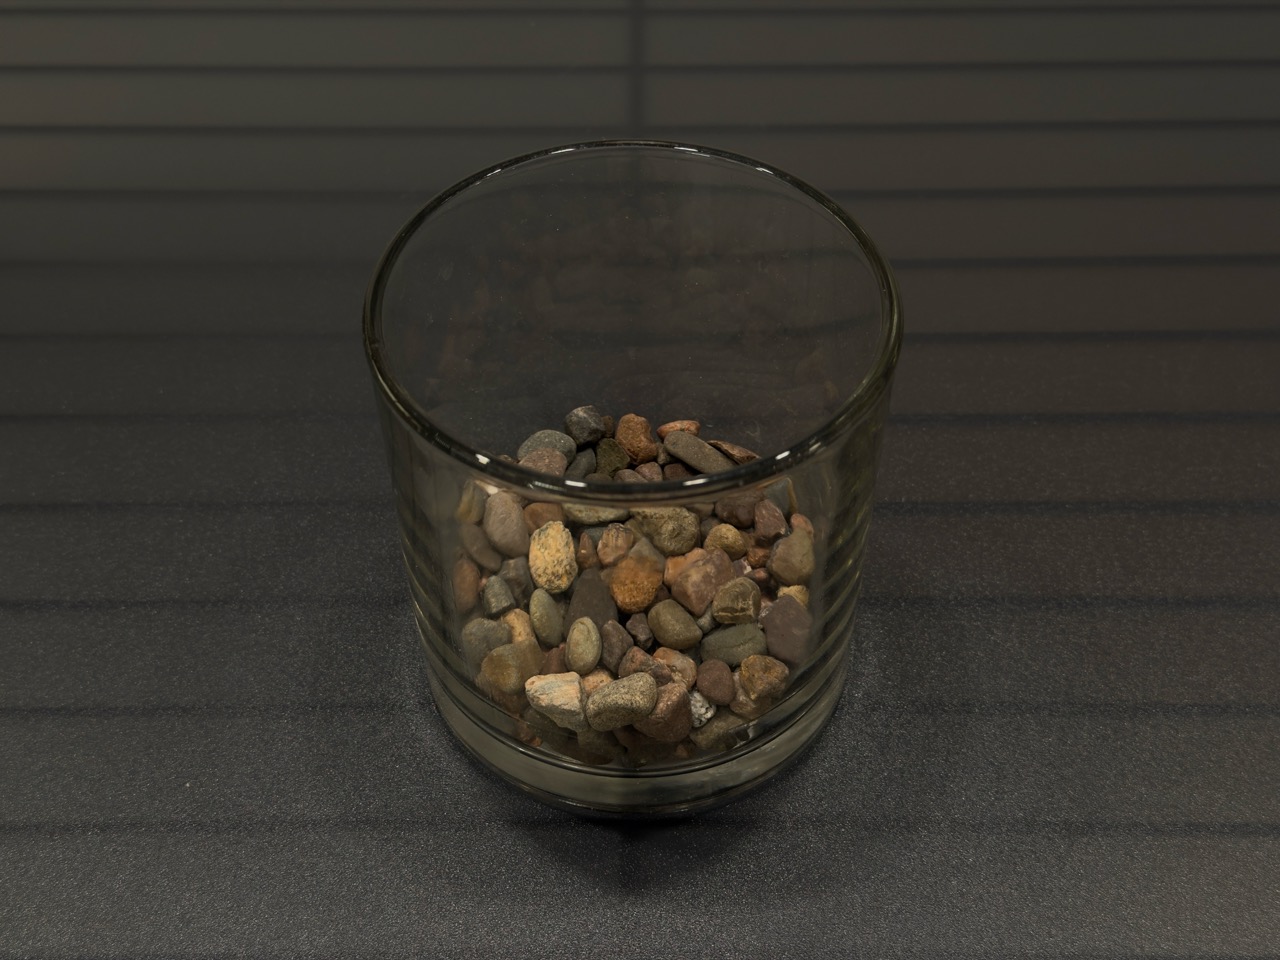
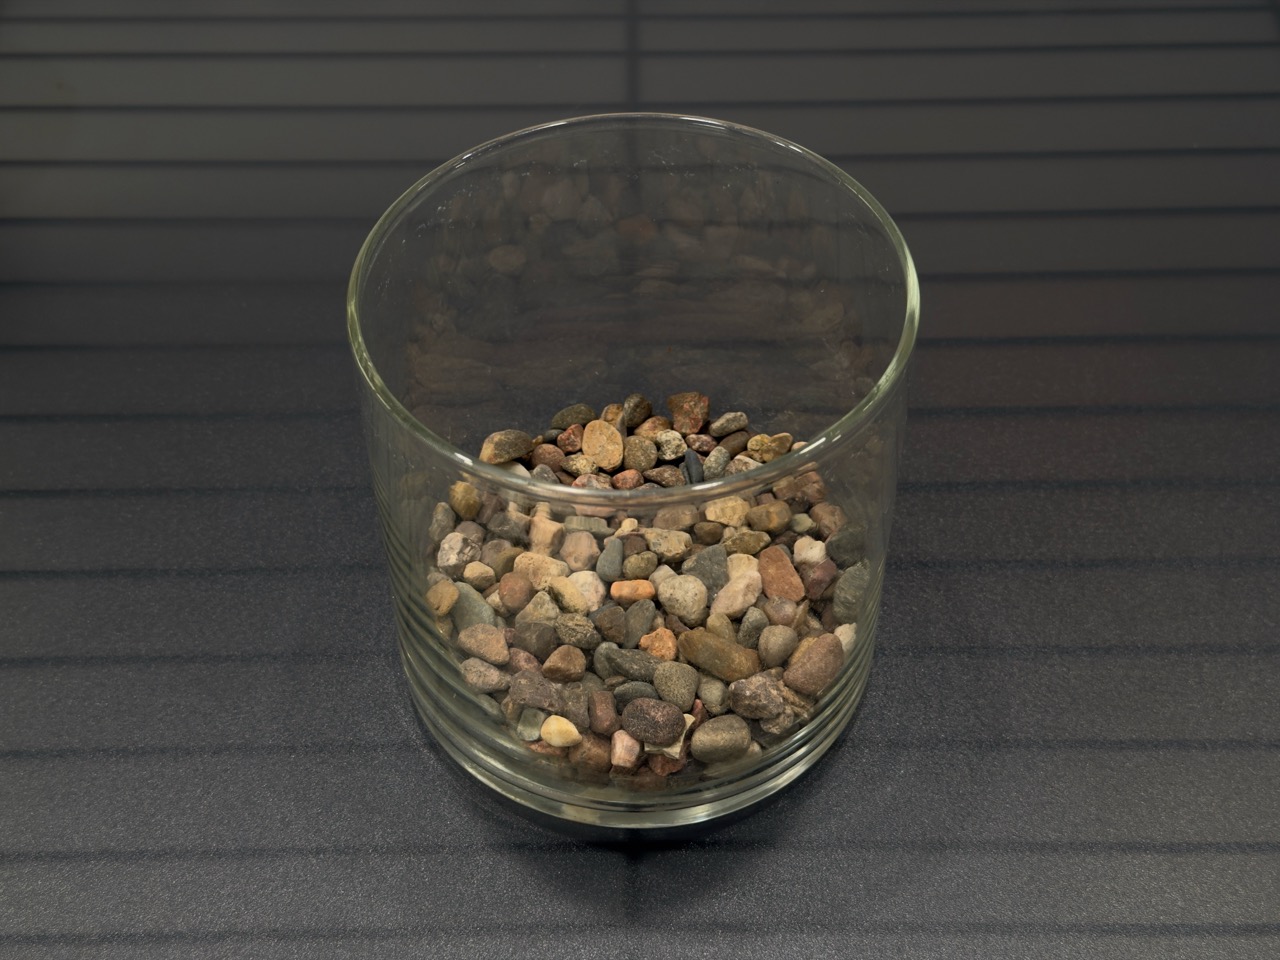
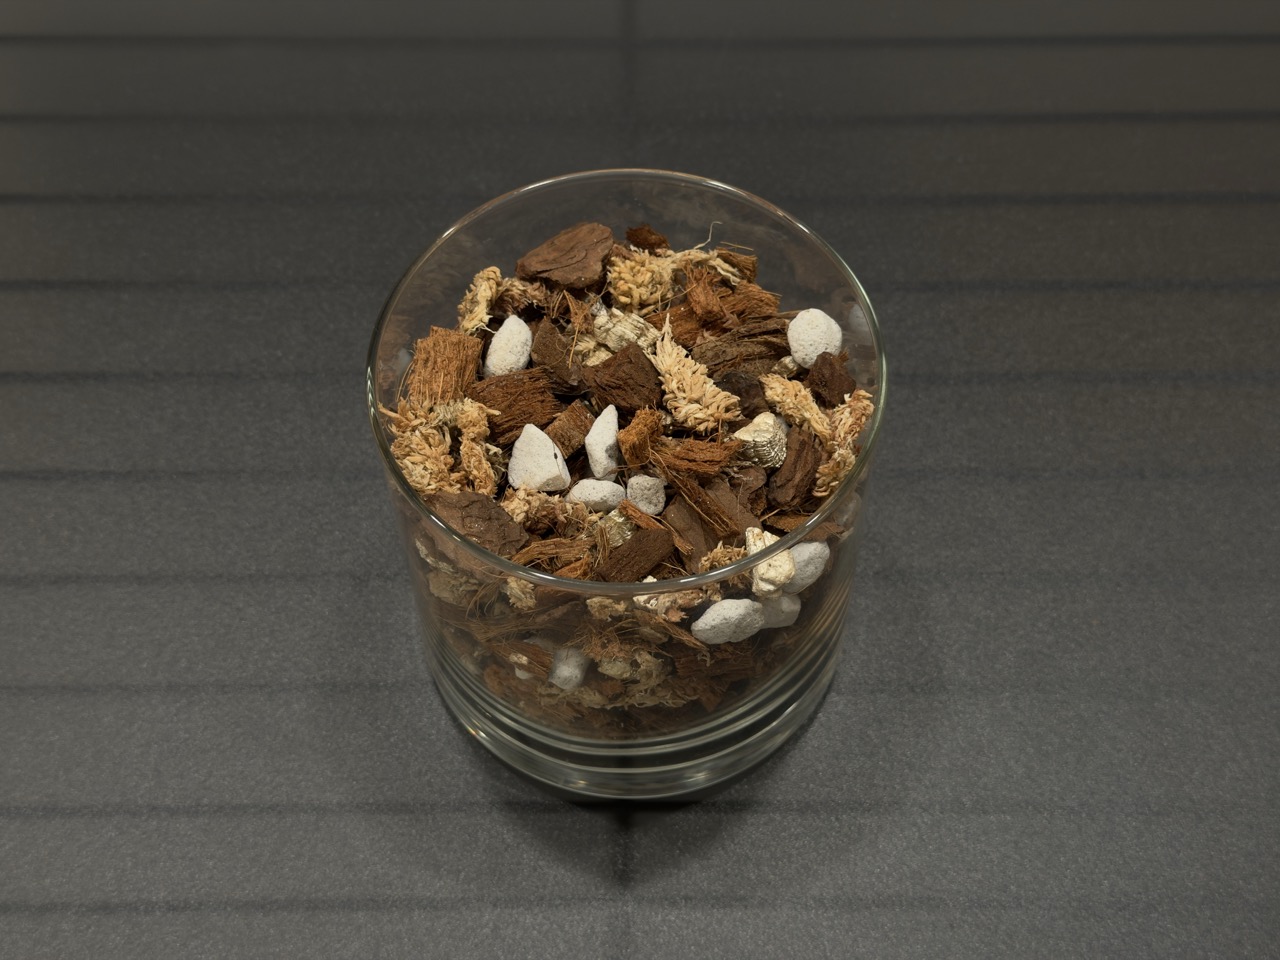
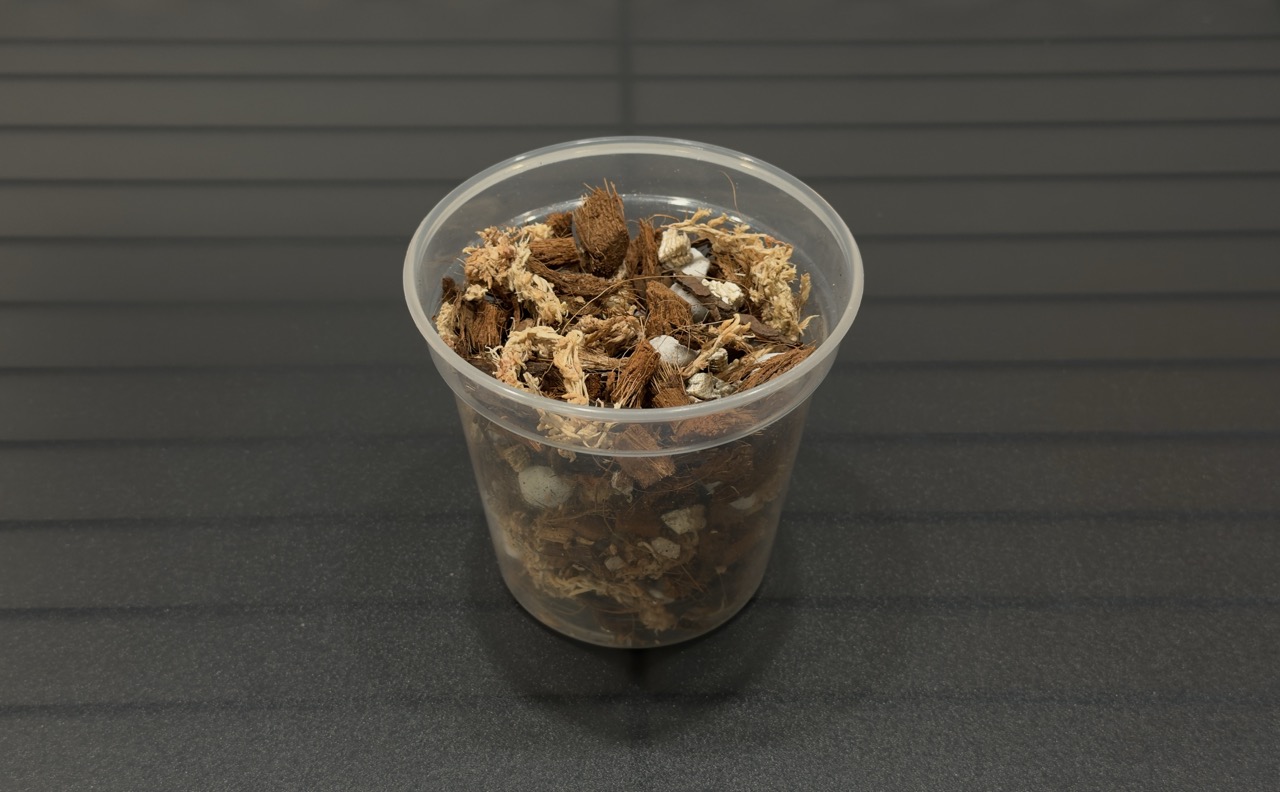
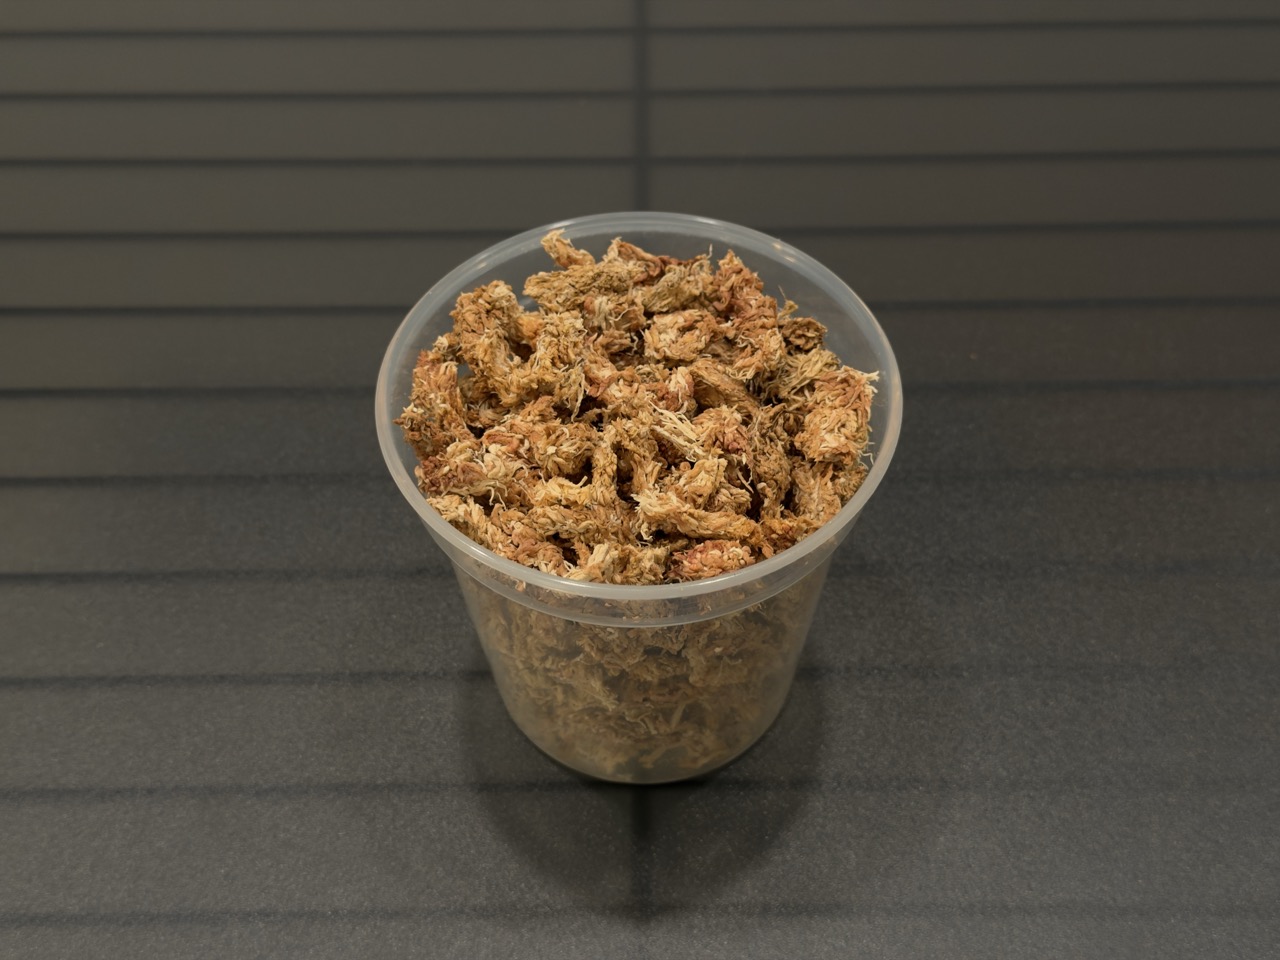
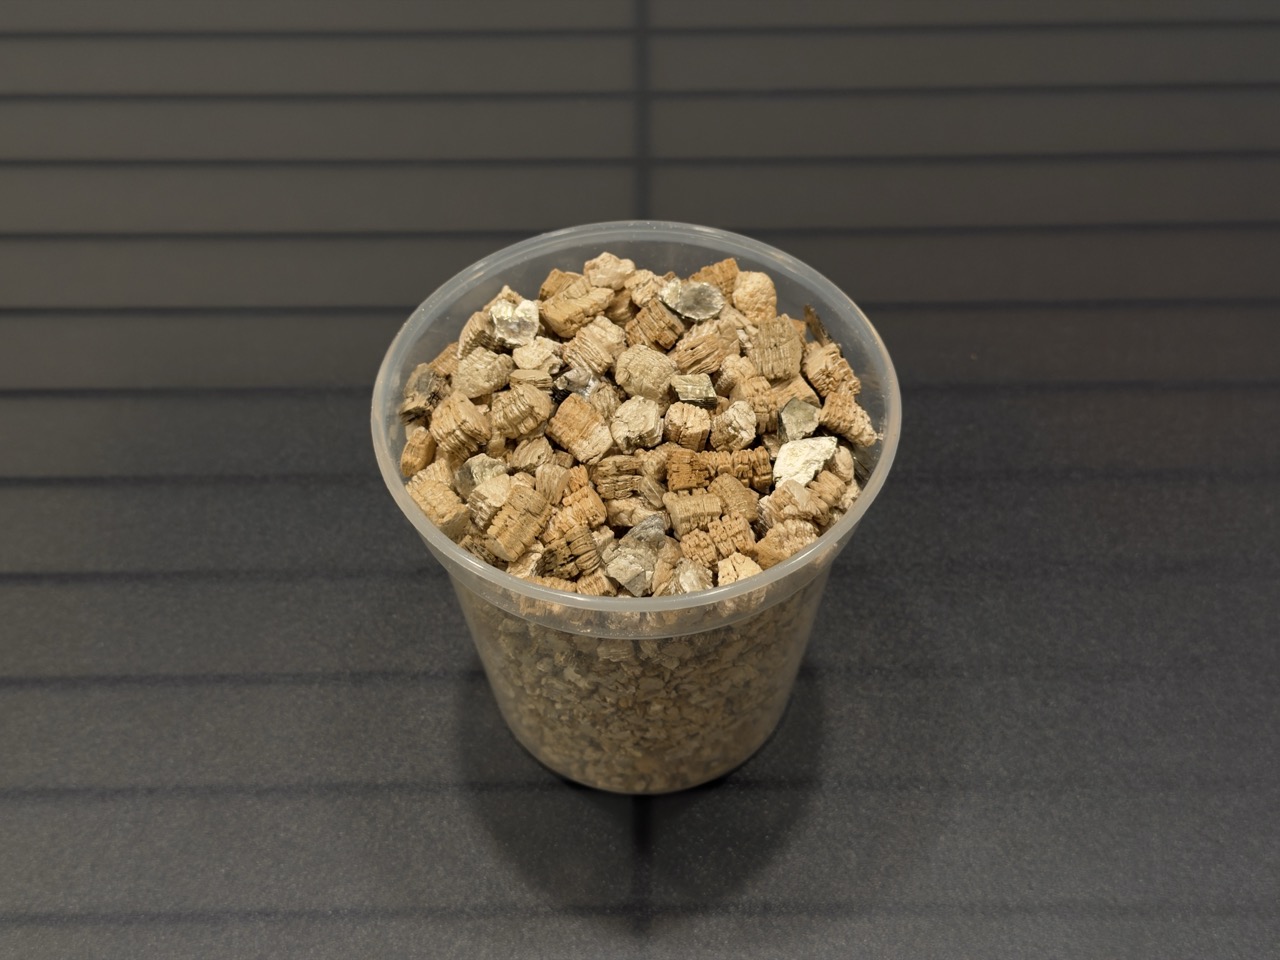
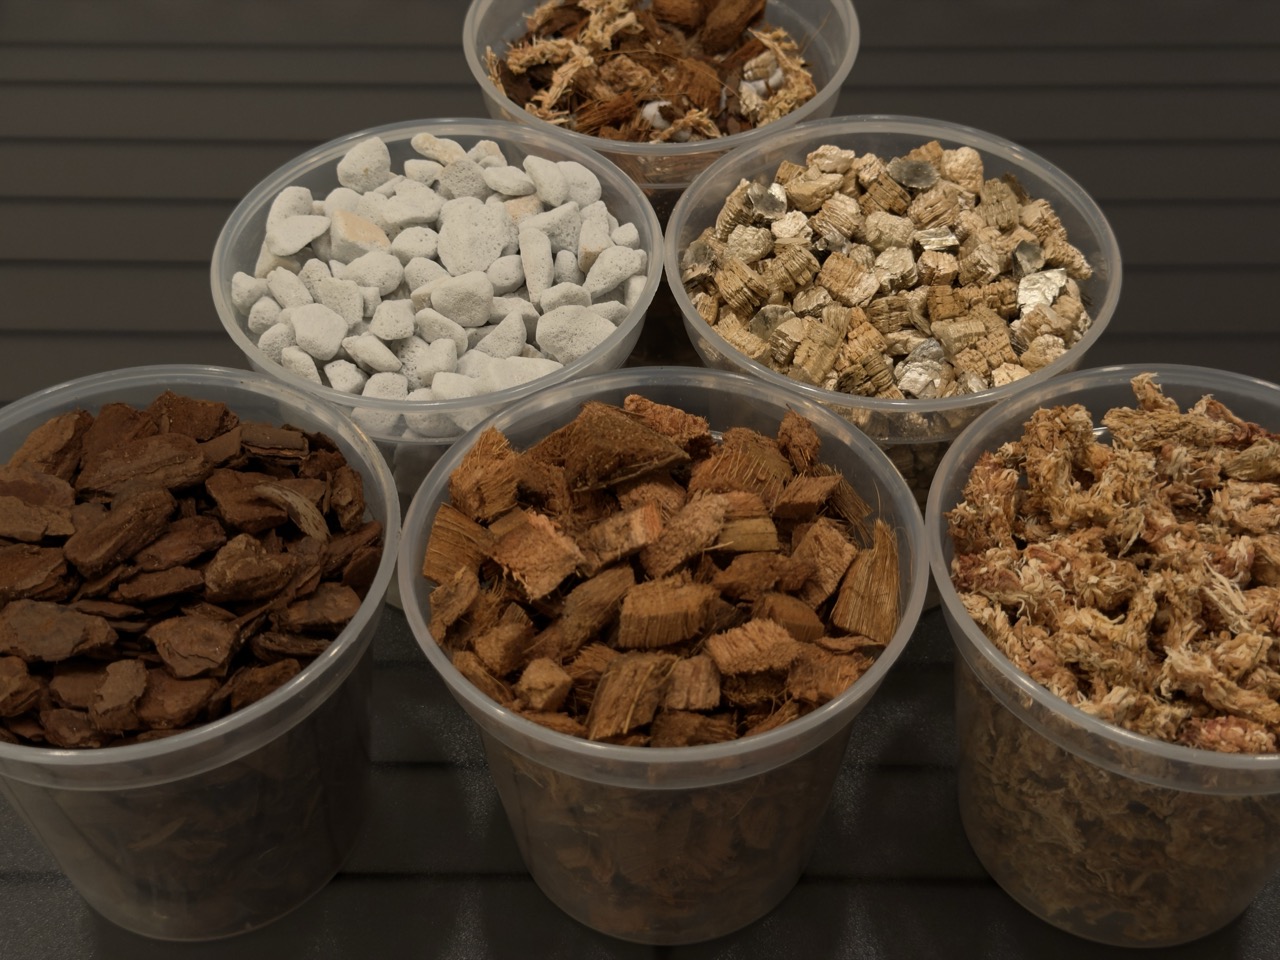
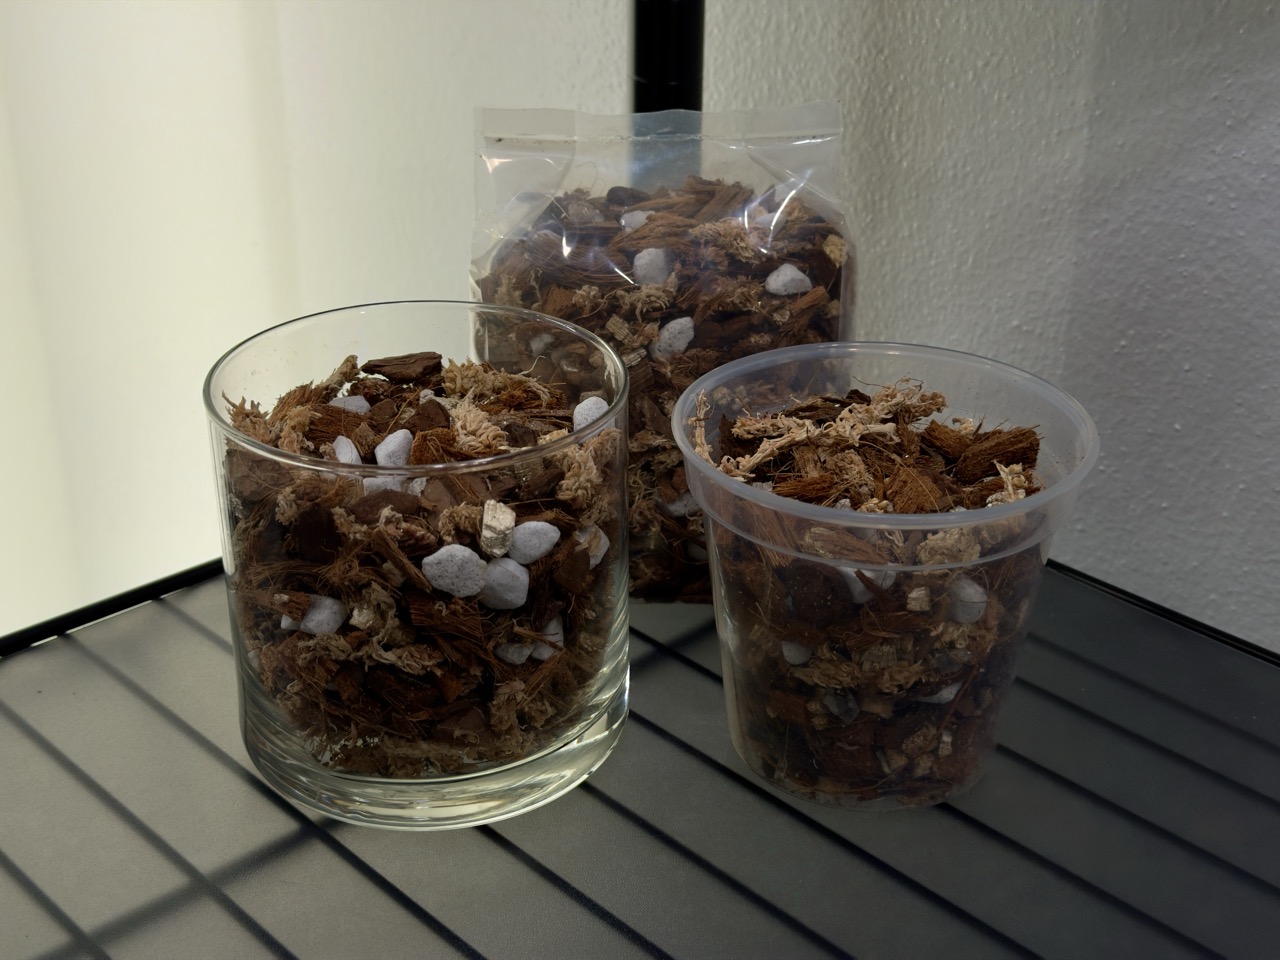
Transplant into a small pot with an airy, well-draining mix
Keep humidity elevated for the first week (humidity dome or enclosed space helps)
Water lightly, roots are established but still delicate
Avoid oversized pots, which can hold excess moisture and slow growth.
Light Requirements
Bright, indirect light is ideal
Avoid direct sunlight, especially while acclimating
Too little light may slow growth, but too much can stress young leaves
Watering Tips
Less is more, overwatering is the most common issue
The container should feel slightly moist, not wet
Always allow airflow if moisture builds up
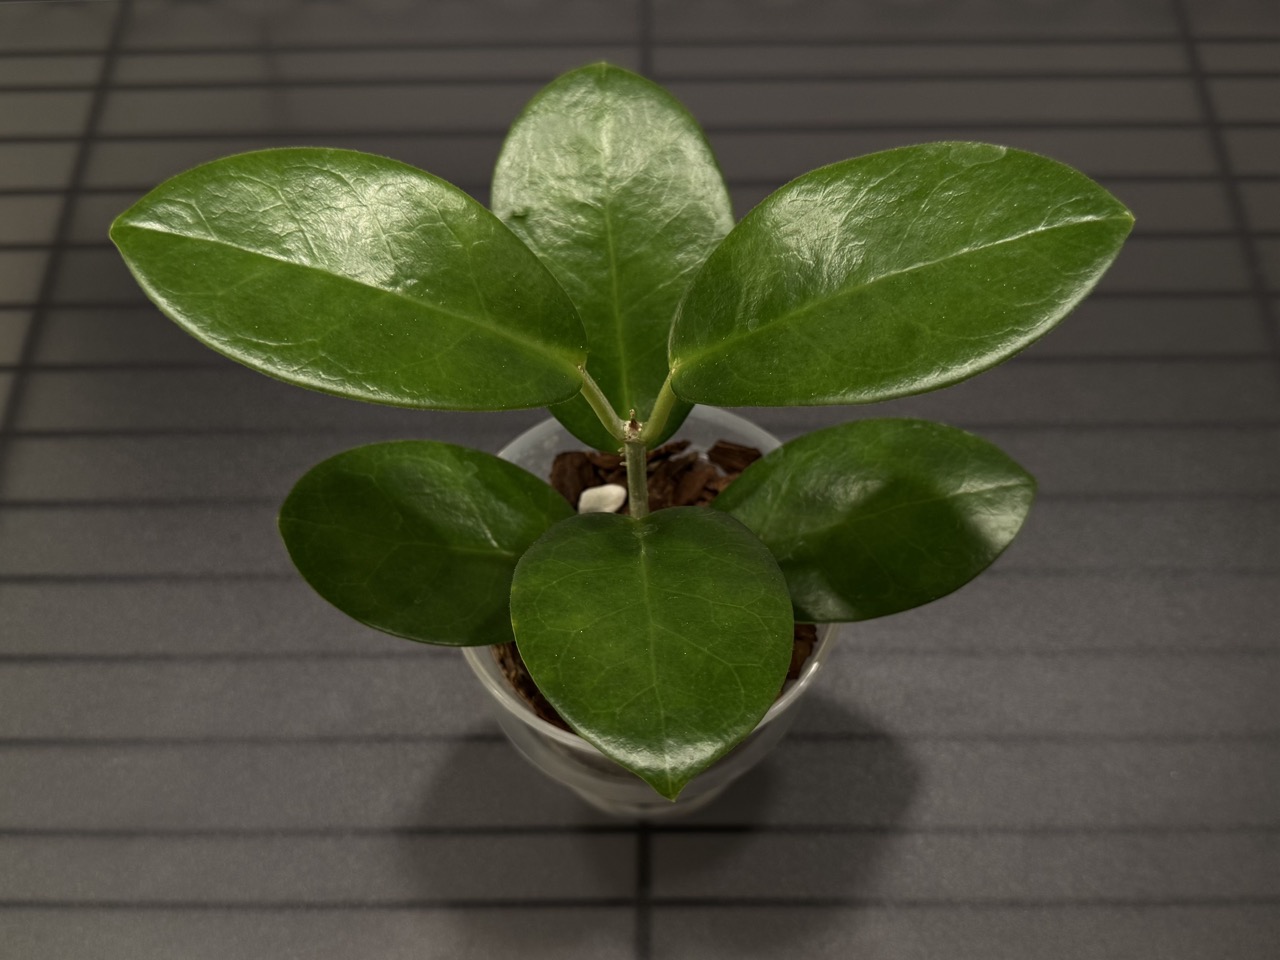
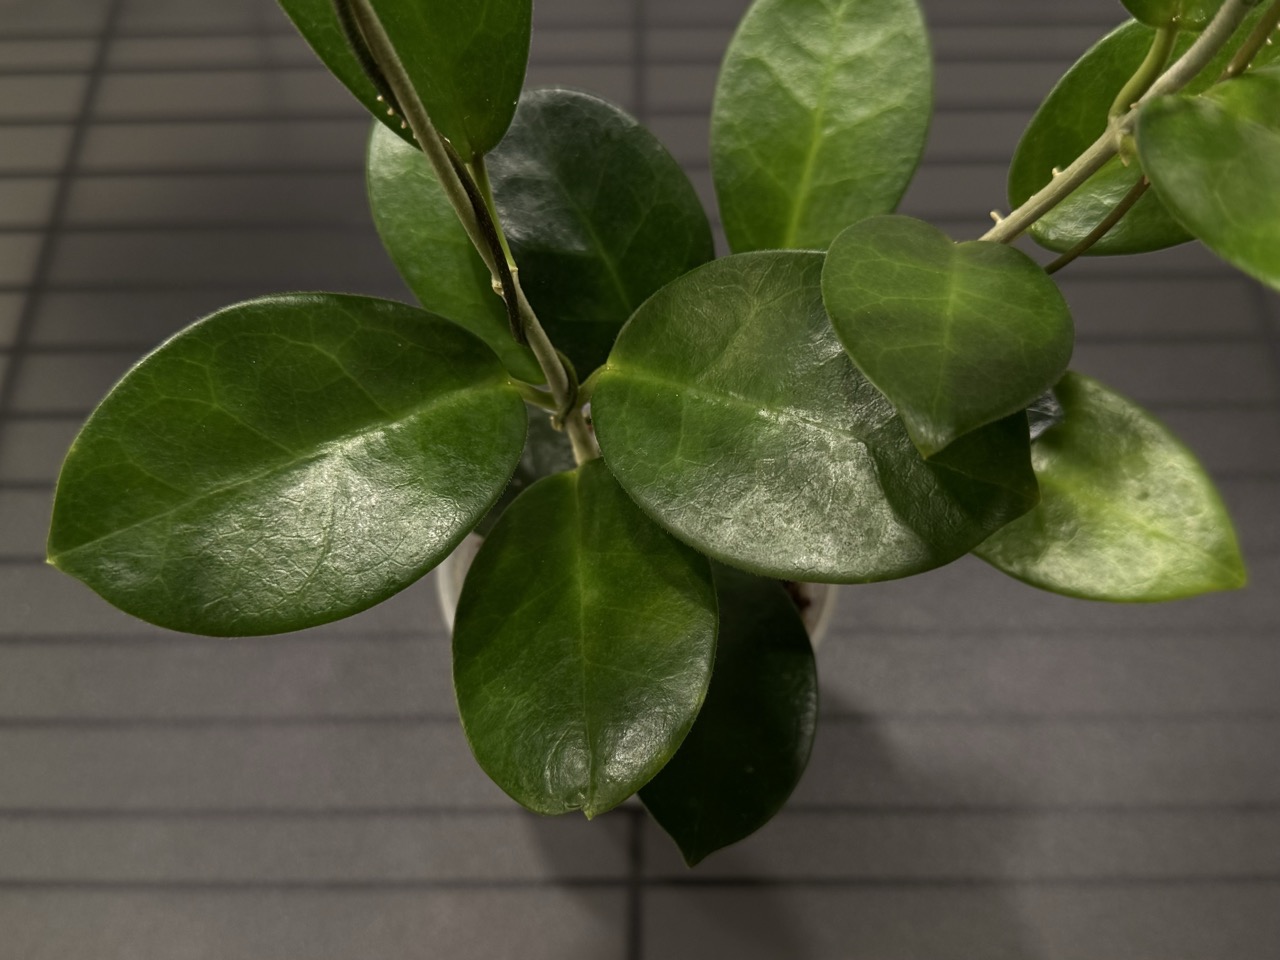
Signs of a Happy Cutting
Firm leaves
New growth points or unfurling leaves
Roots visible through the container (in some cases)
Normal adjustments may include slight leaf droop or slower growth during acclimation.
Important Notes
These are juvenile plants, not finished specimens
Some leaf loss can occur as the plant adapts
Growth will accelerate once fully acclimated and potted
Need Help?
Every environment is different. If you’re unsure about acclimation, potting, or care, feel free to reach out or check our social pages for updates and tips.